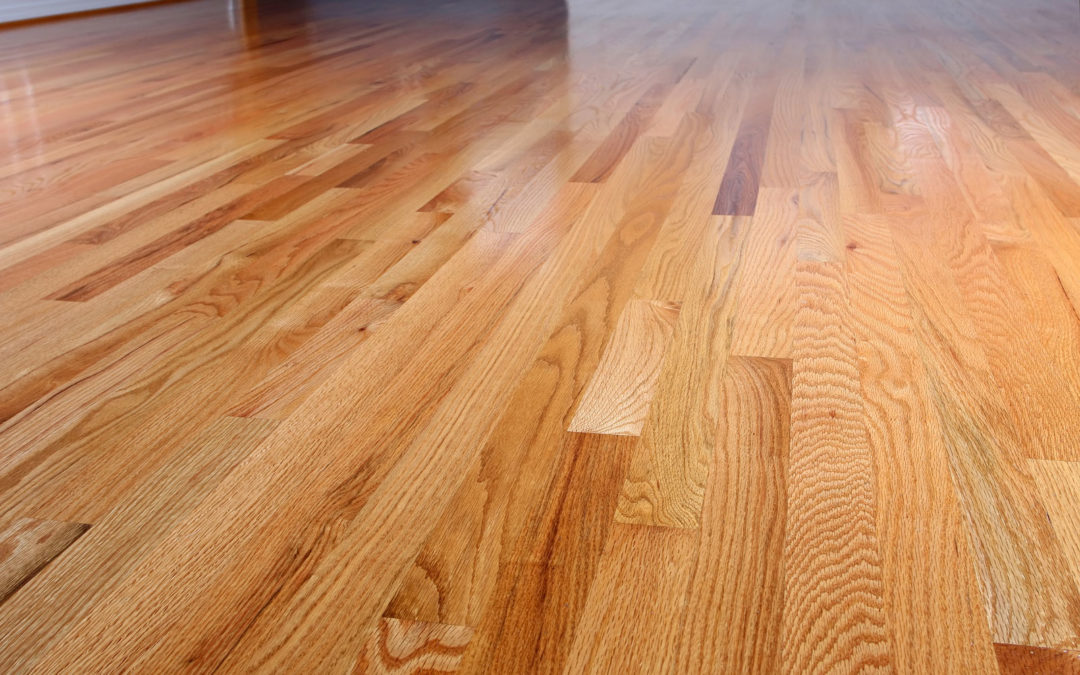
There's something special about watching dull, worn hardwood floors come back to life. The grain pops, the color deepens, and suddenly your entire room feels transformed. But here's the thing, refinishing hardwood floors isn't as straightforward as renting a sander and picking up some polyurethane from the hardware store.
Every year, homeowners across Chicago and the surrounding areas tackle floor refinishing projects with the best intentions, only to end up with scratched surfaces, uneven finishes, or worse, permanently damaged floors. The good news? Most of these problems are completely avoidable once you know what to watch out for.
Whether you're considering a DIY project or just want to know what questions to ask a contractor, here are the seven most common hardwood floor refinishing mistakes, and exactly how to fix them.
Mistake #1: Using the Wrong Sandpaper Grit
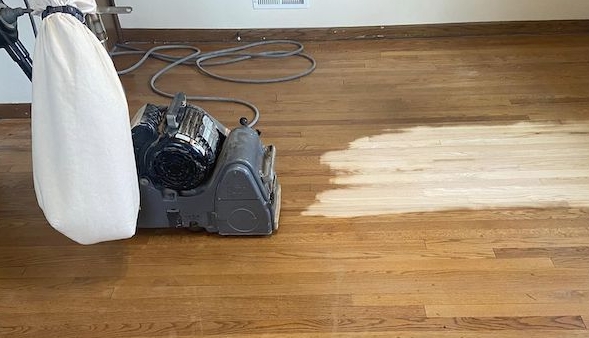
This one trips up even experienced DIYers. Start with sandpaper that's too fine, and you'll spend hours barely making a dent in the old finish. Go too coarse, and you risk gouging deep scratches into the bare wood that no amount of finishing will hide.
How to fix it: Think of sanding as a progression, not a one-and-done task. The proper approach starts with coarse 36-40 grit paper to strip away the old finish completely. From there, you move to 60-80 grit to smooth things out, then finish with 100-120 grit before staining or sealing.
The key is never skipping grits. Each level removes the scratches left by the previous one. Jump from 40 grit straight to 120, and those coarse scratch marks will show right through your beautiful new finish.
Mistake #2: Not Cleaning Between Sanding Passes
Here's a stat that might surprise you: failing to clean floors thoroughly between sanding passes is the number one cause of poor final results. All that dust and debris you create? It doesn't just disappear. Left on the wood before staining or sealing, it causes rough patches, dull spots, and an overall finish that looks… off.
How to fix it: After each sanding pass, vacuum the entire surface thoroughly. And we mean thoroughly, get into every edge, corner, and crevice. Before moving to the next step, wipe everything down with a tack cloth. Yes, it takes extra time. Yes, it's absolutely worth it.
This is one of those steps where cutting corners now means visible problems later. The finish will lock in whatever's on the surface, so make sure that surface is spotless.
Mistake #3: Sanding Against the Wood Grain
According to industry surveys, sanding against the wood grain is the most commonly reported sanding mistake among homeowners. And unfortunately, it's one of the hardest to fix after the fact. Those cross-grain scratches become permanent features of your floor, visible every time the light hits at a certain angle.
How to fix it: Always: always: sand in the same direction as the wood grain. Keep the floor sander moving parallel to the boards, and pay extra attention when you're working near edges and end grains. A gentle feathering motion helps blend any minor scratches.
Here's a pro tip: apply your finish in the direction of the grain as well. This creates a cohesive look and helps minimize any remaining imperfections.
Mistake #4: Applying Finish Too Thick (or Too Thin)
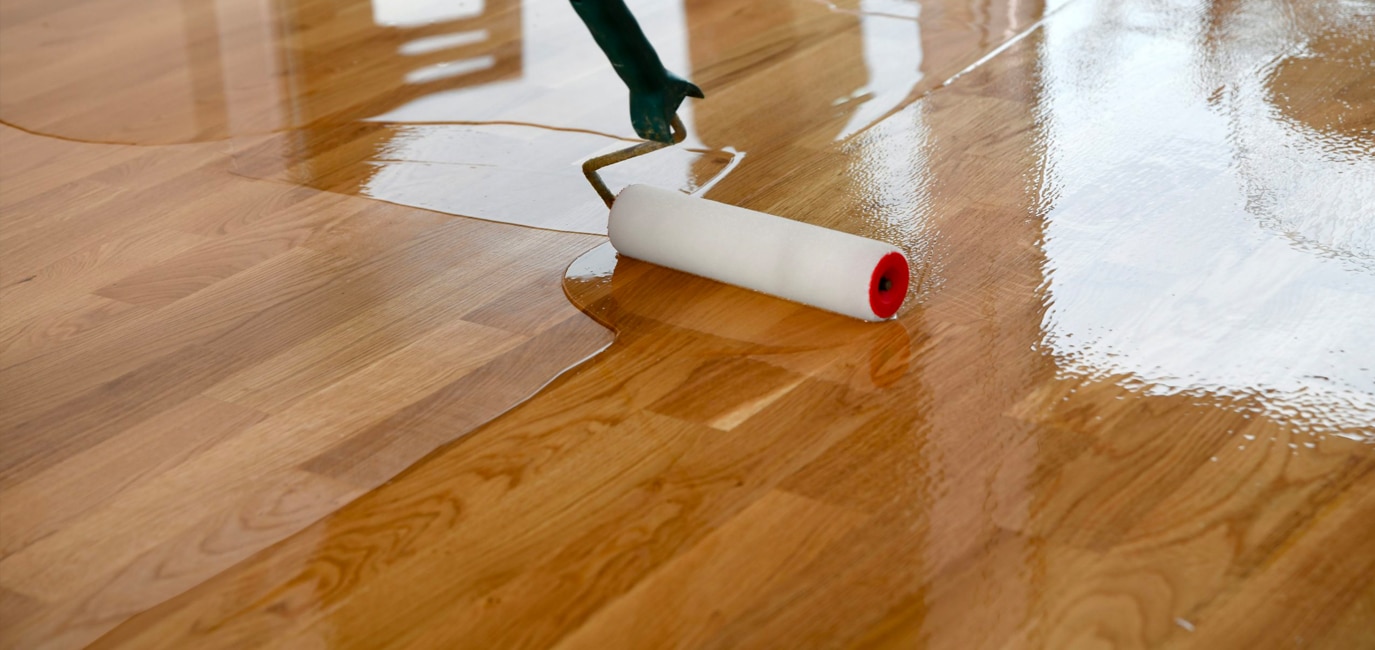
Finding that Goldilocks zone with polyurethane or other finishes is trickier than it looks. Apply it too thin, and you'll have gaps, uneven coverage, and floors that wear through quickly. Too thick? Say hello to runs, bubbles, and unsightly puddling that takes forever to cure.
How to fix it: Multiple thin, even coats will always outperform one thick coat. Most finishes require 2-3 coats for optimal durability and shine. Read the product label carefully: it's there for a reason: and follow the recommended application thickness and drying times between coats.
When applying, work systematically across the floor in manageable sections. Keep a wet edge to avoid lap marks, and resist the urge to go back over areas that are starting to set.
Mistake #5: Rushing the Drying Time
We get it. You've put in days of work, and you're eager to move furniture back in and show off your beautiful new floors. But rushing between steps is the number one cause of finish failure down the road. Cut drying times short, and you'll end up with a soft finish that scratches easily, or adhesion problems where the layers start peeling apart.
How to fix it: Patience pays off here. Always allow at least the minimum drying time stated on your products: and understand that "minimum" means under ideal conditions.
Here's what many people don't realize: cooler temperatures or high humidity can extend dry times by two to three times. If you're refinishing during a humid Chicago summer or a cold snap in January, plan accordingly. Using fans to improve air circulation can help speed things along, but don't push it.
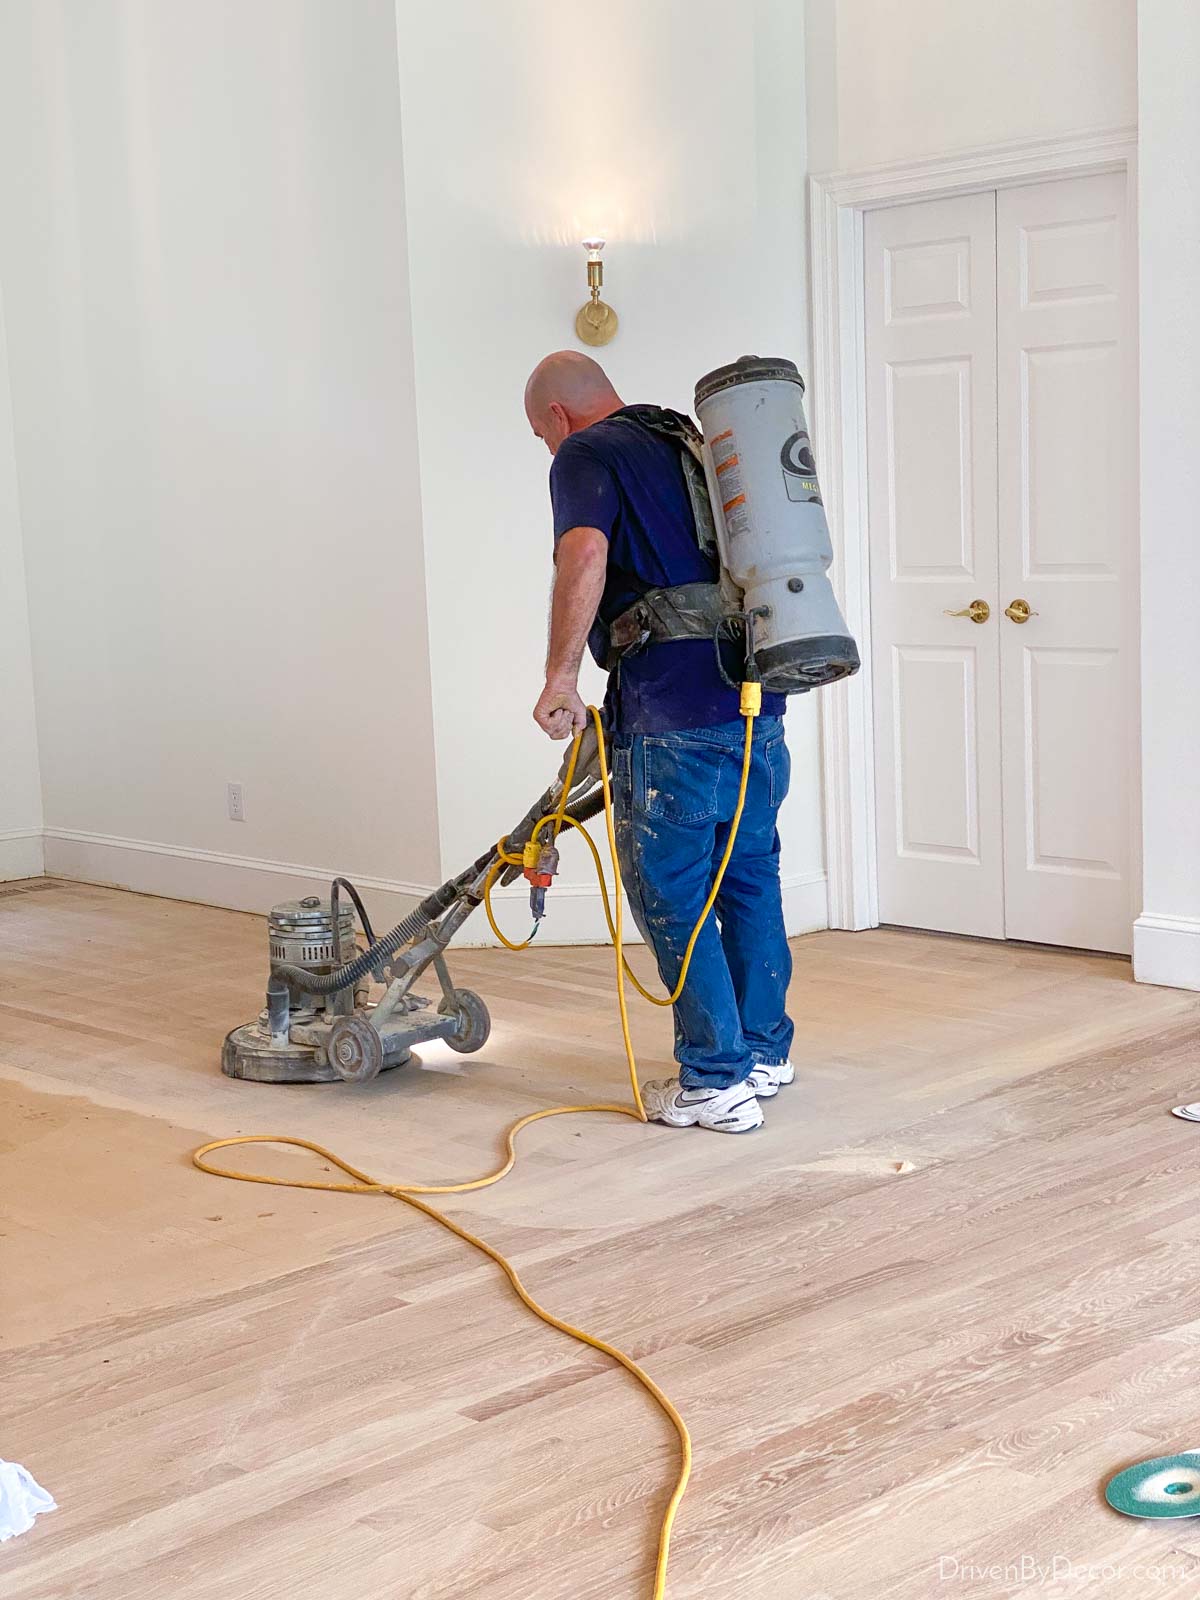
Mistake #6: Skipping the Floor Evaluation
Not every floor can be refinished: and assuming yours can without proper assessment is risky business. Many older Chicago homes have original hardwood that's been sanded multiple times over the decades. Those boards may now be too thin to safely sand again.
Engineered hardwood presents its own challenges. If the veneer is under 3 millimeters thick, a drum sander can cut right through to the plywood underneath. That's not refinishing: that's replacement.
How to fix it: Before committing to any refinishing project, have a professional evaluate:
- Wood thickness (how much material is left to work with)
- Subfloor condition
- Existing finish type
- Previous refinishing history
- Any hidden water damage
A quick inspection can save you from an expensive disaster. If you want to check yourself, try lifting a floor vent cover to see the board's edge profile, or examine any leftover planks from the original installation.
Mistake #7: Ignoring Temperature and Humidity Control
Chicago weather is famously unpredictable, and those swings in temperature and humidity directly impact your refinishing project. High humidity during application causes slow drying and finish defects like clouding or bubbling. Very dry winter air can cause gaps between boards or even cracking in the finish.
How to fix it: Schedule your refinishing project strategically. Aim for periods of moderate temperatures and low humidity whenever possible. During the actual refinishing process, control your home's climate: keep the HVAC running, use dehumidifiers if needed, and avoid opening windows that let in humid summer air or dry winter cold.
Be especially mindful that environmental conditions can extend drying times significantly. What takes 24 hours in ideal conditions might need 48-72 hours during a muggy August week.
Why Professional Refinishing Makes a Difference
Look, we're not saying DIY refinishing is impossible. But after reading through these seven mistakes, you can probably see why so many homeowners choose to work with professionals instead.
At Rovin's Flooring Inc, we've been refinishing hardwood floors throughout Chicago and a 60-mile radius extending North and West for years. We've seen every mistake on this list: and we know exactly how to avoid them. From proper floor evaluation before we start, to using the right equipment and techniques, to controlling environmental conditions throughout the process, professional refinishing delivers results that last.
Our team handles everything from initial assessment to final coat application, ensuring your floors get the care they deserve. We also provide guidance on ongoing maintenance to keep your refinished floors looking beautiful for years to come.
Ready to Refinish the Right Way?
Your hardwood floors are an investment worth protecting. Whether you're dealing with worn finishes, scratches, or just floors that have lost their luster, professional refinishing can bring them back to life: without the headaches of DIY mistakes.
If you're in the Chicago area or within 60 miles North or West, we'd love to help. Contact us for a consultation, or request a free estimate to get started. Let's give your floors the finish they deserve.