Hardwood floors are the soul of a Chicago home. Whether you’re living in a classic bungalow in Irving Park or a modern condo in Arlington Heights, nothing beats the warmth of real wood. But over time, the salt from our winters, the humidity of our summers, and general foot traffic take a toll.
When your floors start looking a bit dull, the "DIY itch" usually kicks in. You think, “How hard can it be to rent a sander and throw some stain down?” As it turns out, quite hard. At Rovin's Flooring Inc, we’ve seen plenty of projects that started as a weekend DIY and ended with a frantic call to Adrian Tiutiu (our president) to save the day.
If you’re planning to tackle your floors, avoid these seven common mistakes that we see homeowners making across Chicago and the North/West suburbs.
1. Skipping the Deep Clean and Prep
Most people want to jump straight into the "fun" part, the sanding. But if you don’t prepare the room properly, you’re setting yourself up for a messy, uneven disaster.
Preparation isn’t just about moving the couch. You need to pull up all staples from old carpet, hammer down protruding nails, and vacuum every single corner. If there is a speck of dust or a hidden nail, your sanding drum will hit it, rip the paper, and leave a permanent gouge in your expensive wood.
In Chicago, we also have to deal with significant seasonal expansion. Before you start, check your humidity levels. If you refinish floors in a room that is currently too damp or too dry, the boards will shift later, cracking your beautiful new finish.
2. Using the Wrong Sanding Sequence
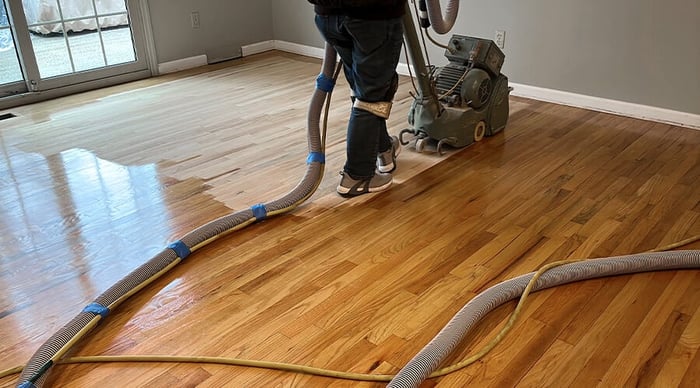
Sanding is where most DIY projects go south. The biggest mistake is either staying in one spot too long with a drum sander (creating a "valley" in your floor) or skipping grit levels.
You can't go from a 36-grit sandpaper straight to a 100-grit. You have to work through the sequence, 36, 60, 80, 100. Each pass removes the scratches left by the previous one. If you skip a step, you might think the floor looks smooth, but the second you apply a dark stain, those sanding marks will show up like a sore thumb.
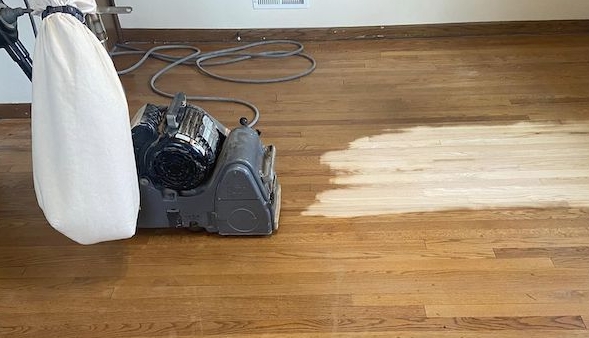
A professional floor sander removes the old, worn finish to reveal a fresh surface, but it requires a steady hand and the right grit sequence.
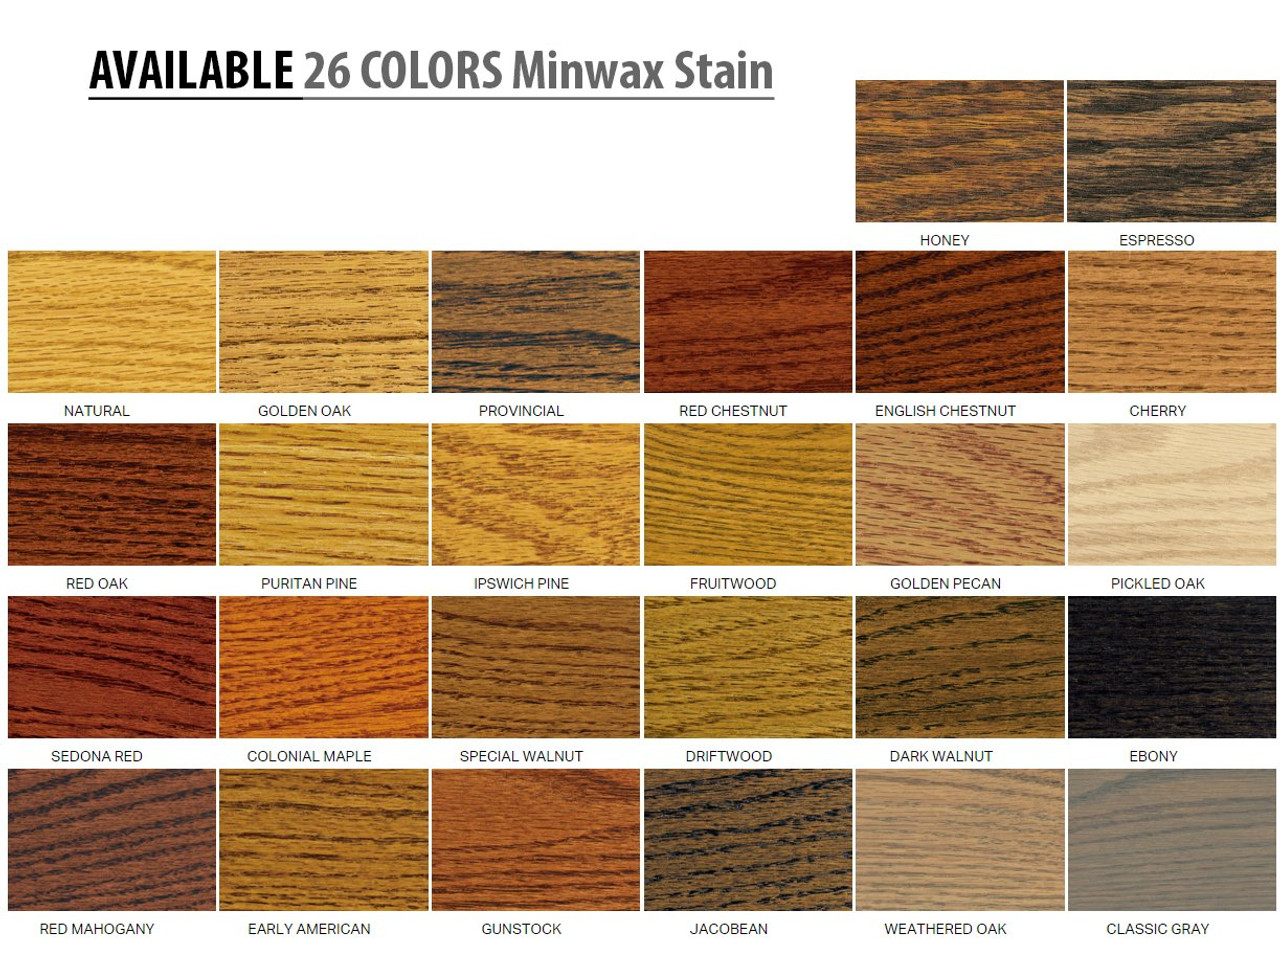
3. Choosing a Stain Color Based on a Tiny Swatch
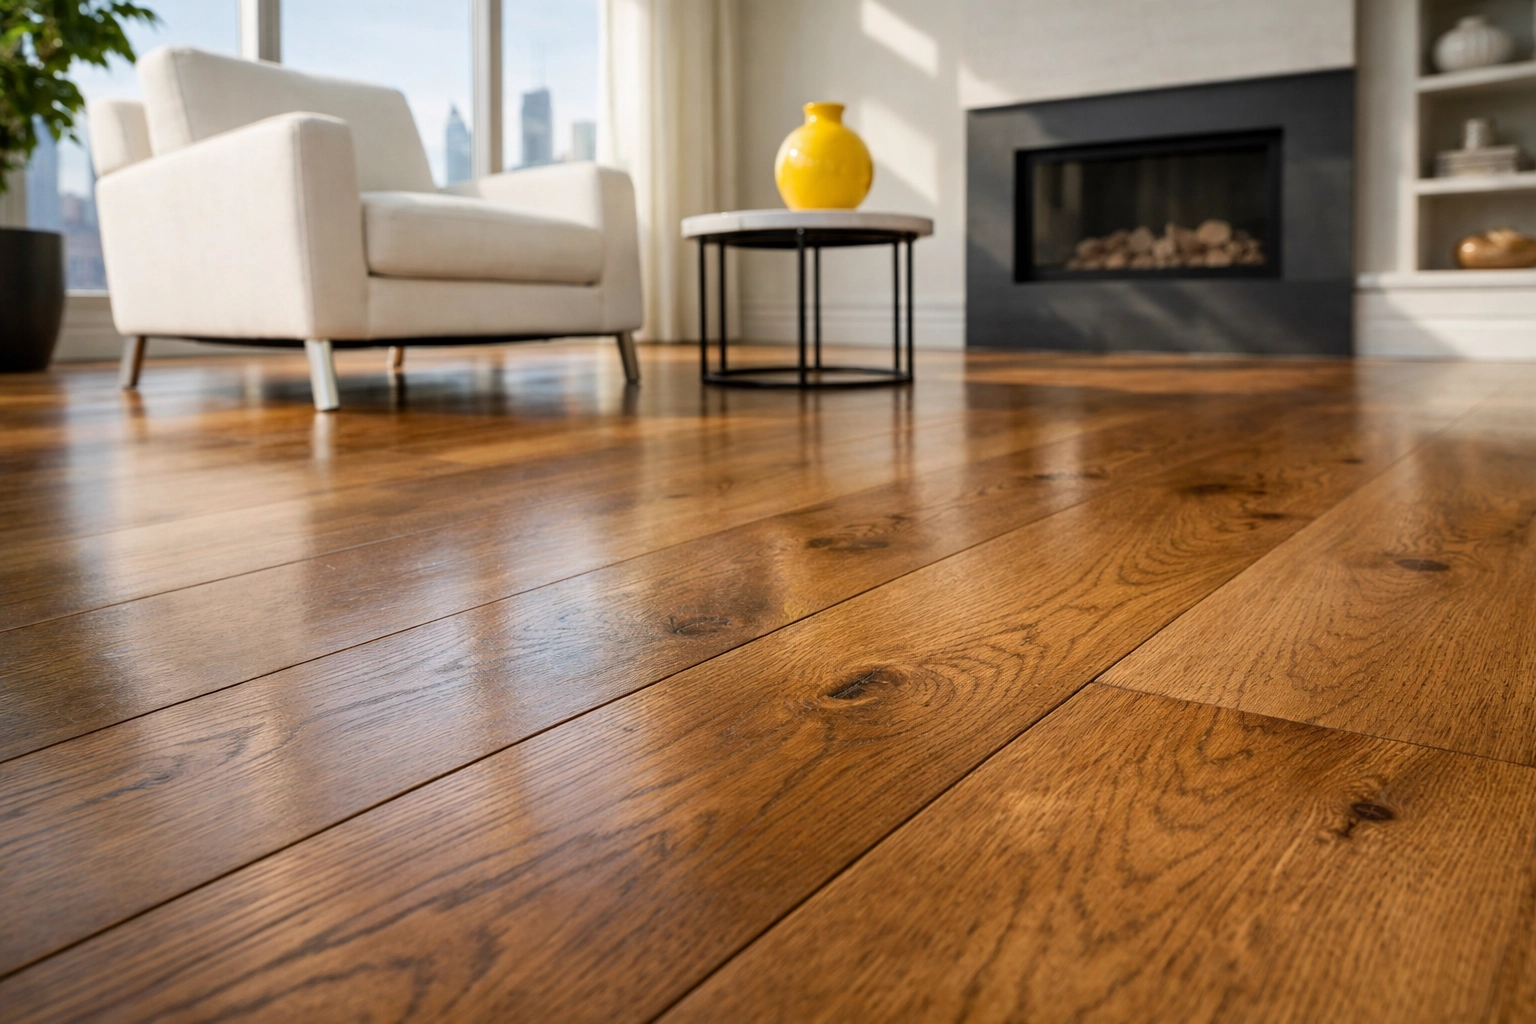
Chicago flooring trends have shifted. While the "cherry red" or "honey oak" looks were huge in the 90s, today’s homeowners are leaning toward natural, matte finishes or very light, airy tones.
The mistake we see often is picking a stain from a small wood block at a big-box store. Wood is a natural product. Red Oak will take stain differently than White Oak. If you’re in an older Chicago home, you might even have a mix of species.
Before committing, always test the stain on an inconspicuous area of your actual floor. Look at it in the morning light and under your evening lamps. If you're looking for inspiration, our gallery shows how different stains look in real-world Chicago lighting.
4. Mixing Incompatible Stains and Finishes
This is the "Chemistry 101" mistake. Not all stains and topcoats play nice together.
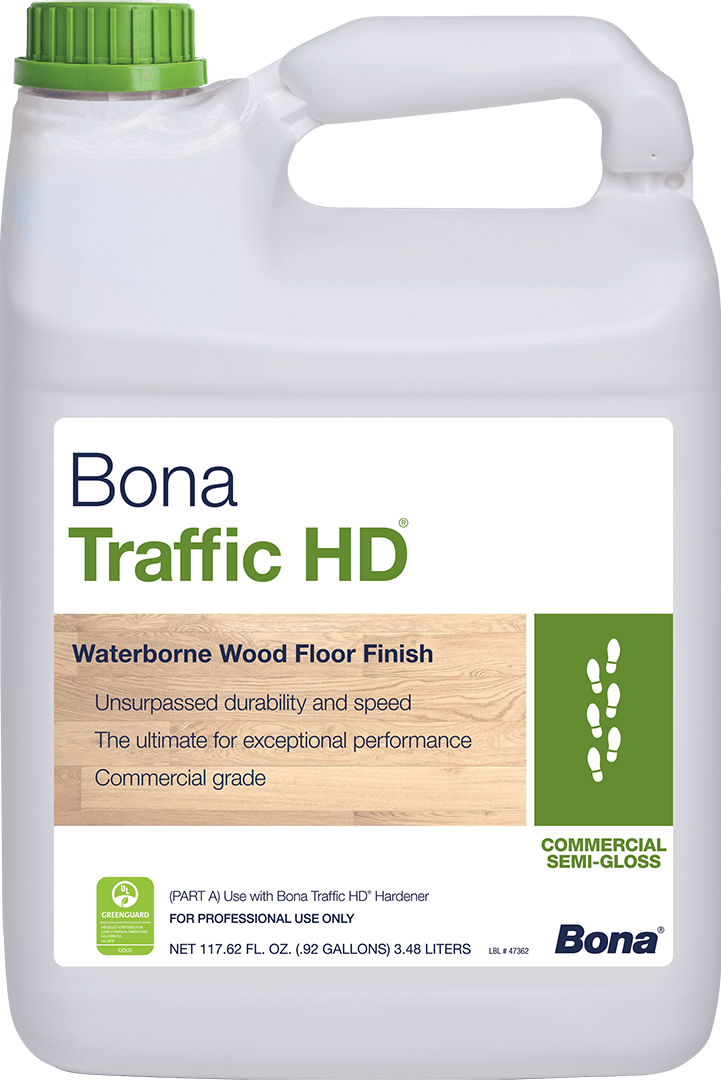
In the professional world, we often use high-performance waterborne finishes like Bona Traffic HD because they dry fast and don't yellow over time. However, if you apply a water-based finish over an oil-based stain that hasn't fully cured, the finish won't adhere. It will literally peel off like a bad sunburn a few weeks later.
If you’re doing this yourself, stick to the same "family" of products. Or, better yet, check our material guide to see what we recommend for the Chicago climate.
5. Ignoring the "Chicago Factor": Humidity and Temperature
Chicago weather is the enemy of a perfect floor finish. If you try to refinish your floors on a 95-degree day in July with 90% humidity, your finish will stay tacky for days, collecting dust and pet hair.
Conversely, in the dead of winter, the air is so dry that the finish might dry too fast, leaving "lap marks" where your roller overlapped.
At Rovin's Flooring Inc, we always monitor the indoor temperature and humidity before we even open a can of finish. For a DIYer, the fix is simple: keep your HVAC system running at a consistent 68-72 degrees for at least 48 hours before, during, and after the project.
6. Underestimating the "Dust Storm"
Traditional sanding creates a mountain of fine dust that finds its way into your kitchen cabinets, your vents, and even your closets. Many homeowners try to manage this with a shop vac, but it’s rarely enough.
If dust settles into your final topcoat, your floor will feel like sandpaper under your feet. This is why we specialize in wood floor sanding using dust-containment systems. We hook our sanders up to high-powered vacuums that catch 99% of the particles before they ever hit the air.
Modern equipment allows for a much cleaner process, shielding your home from the dreaded "dust film" that usually follows a refinishing project.
7. Rushing the Cure Time
We get it, you want your house back. You want to put your rugs down and let the dog back in the room. But rushing the cure time is the fastest way to ruin a $2,000 job.
There is a difference between "dry to the touch" and "fully cured."
- Dry to the touch: Usually 2-4 hours. You can walk on it in socks.
- Ready for furniture: Usually 24-48 hours.
- Ready for rugs and pets: 7 to 14 days.
Rugs are the biggest culprit. They trap moisture under the backing, which can permanently discolor the wood if the finish hasn't reached its full hardness. Check our maintenance page for more tips on how to treat your floors in those critical first few weeks.
How to Fix a Refinishing Job Gone Wrong
If you’ve already started and realized you’re in over your head, don’t panic. Most refinishing mistakes can be fixed by sanding the floor back down and starting over. Yes, it’s a pain, but it’s better than living with a blotchy, peeling floor for the next ten years.
For homeowners in the Chicago area: specifically those North and West of the city in places like Park Ridge, Schaumburg, or Elgin: professional help is just a click away. We’ve spent years perfecting the art of the "dustless" refinish, ensuring that your home stays clean and your floors look like they belong in a magazine.
Why Professional Refinishing Beats DIY Every Time
While the upfront cost of hiring a pro might seem higher, consider the following:
- Equipment: Industrial sanders are far more powerful and precise than the ones you rent at the local hardware store.
- Speed: What takes a DIYer a week, we can usually finish in 2-3 days.
- Warranty: If something goes wrong, we fix it. If you mess up a DIY job, you pay twice.
If you’re curious about what it would cost to have the pros handle it, you can request an estimate here. We serve the entire Chicago metro area within a 60-mile radius, focusing on the Northern and Western suburbs.
Final Thoughts from Rovin's Flooring Inc
Hardwood floors are an investment in your home's value and your quality of life. Whether you decide to take on the challenge yourself or call in the team at Rovin's Flooring Inc, the key is patience. Don't rush the prep, don't skimp on the sanding, and respect the Chicago weather.
Still have questions about whether your floors can be saved? Check out our guide on why wood is the best choice for Chicago homes, or drop us a line on our contact page. Adrian and the rest of the team are always happy to help a neighbor get the beautiful floors they deserve.