There is something special about the hardwood floors in Chicago. Whether you’re living in a historic bungalow in Oak Park, a classic Victorian in Evanston, or a modern home in Arlington Heights, hardwood is the soul of the house. But let’s be honest: after years of Chicago winters, salty boots, and the occasional spilled deep-dish pizza, those floors start to look tired.
When the scratches get deep and the shine fades, the "refinishing itch" kicks in. You might think, “How hard can it be? I’ll just rent a sander and knock it out this weekend.” Or perhaps you hire the cheapest guy on Craigslist who promises a "new floor" in 24 hours.
As the president of Rovin's Flooring Inc, I’ve seen it all. I’ve walked into hundreds of homes across Chicago’s North and West suburbs only to find floors that look worse after a "refresh" than they did before. Refinishing hardwood is an art form that requires a mix of patience, the right chemistry, and a deep understanding of the local climate.
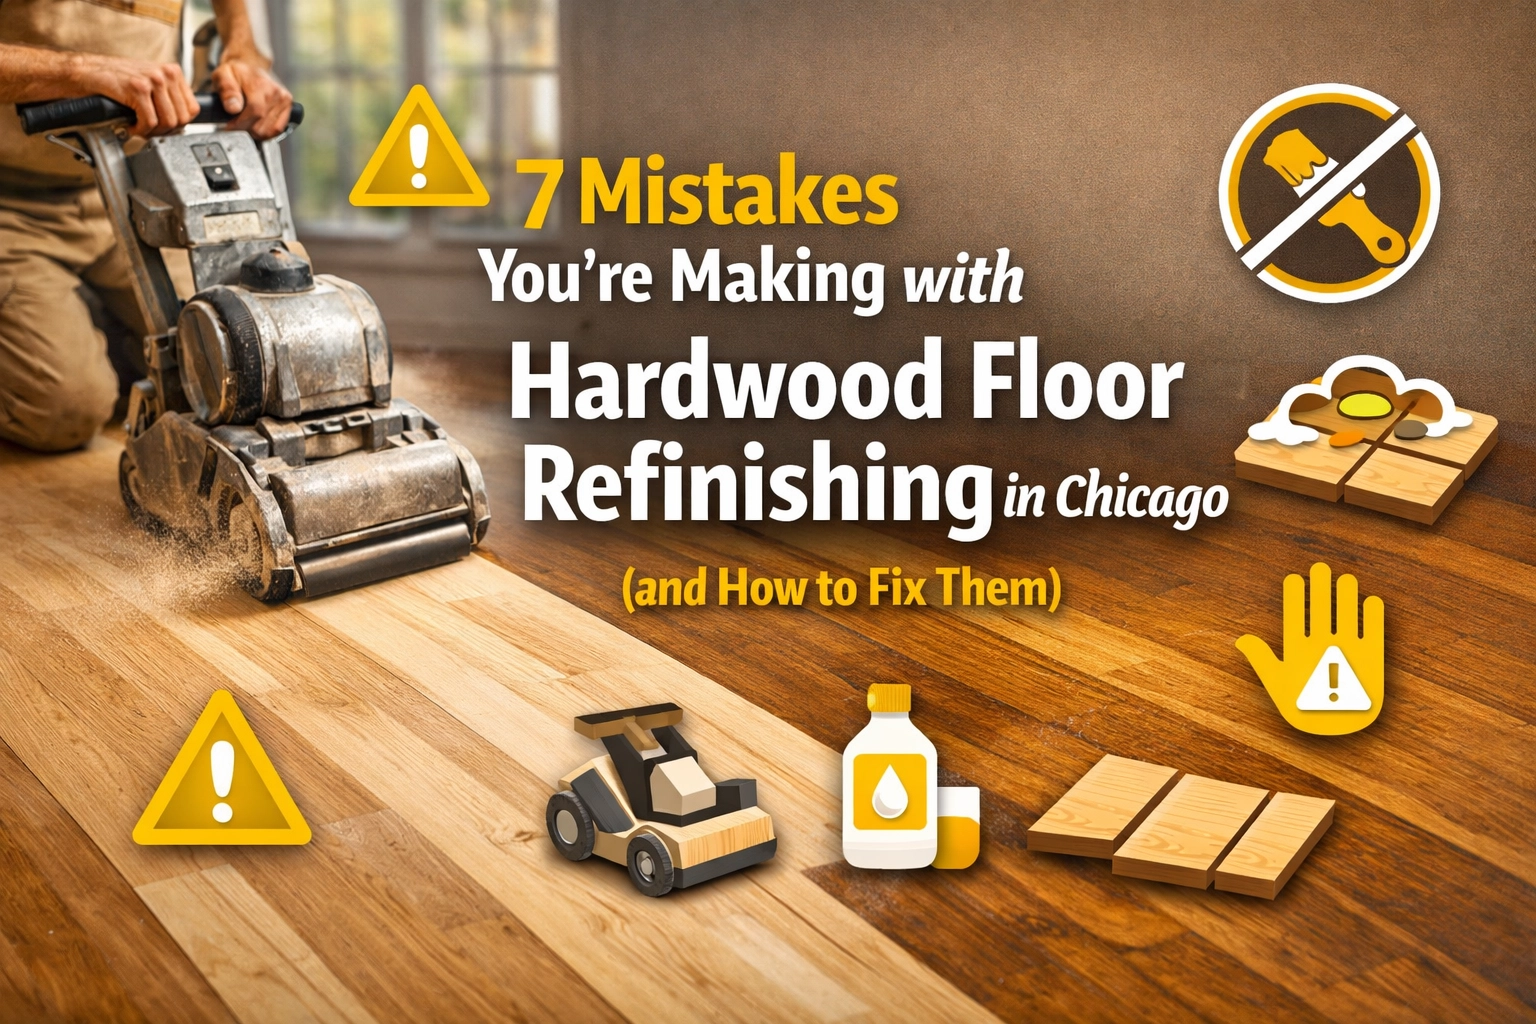
To save your floors (and your sanity), here are the seven biggest mistakes homeowners make with hardwood floor refinishing in Chicago: and exactly how to fix them.
1. Skipping the Sanding Grit Sequence
One of the most common DIY mistakes is trying to save time by skipping grits. If you start with a coarse 36-grit sandpaper to remove the old finish, you can’t just jump straight to a fine 100-grit to finish it off.
The Problem: Sanding is a process of refinement. The coarse grit leaves deep scratches in the wood. The medium grit (like 50 or 60) removes those scratches, and the fine grit (80 or 100) smooths everything out. If you skip a step, the floor might look smooth to the naked eye while it's bare wood, but the moment you apply a stain, those deep "piggyback" scratches will scream at you.
The Fix: You have to follow the sequence. For most Chicago floors, we follow a strict path: 36, 50, 80, and then a final buff with 100 or 120. It takes longer, but it’s the only way to get that glass-like finish.
2. Underestimating the "Dust Storm"
If you’ve ever seen a "traditional" sanding job, you know it usually involves clouds of fine sawdust that settle into your cabinets, your vents, and even your clothes inside closed closets.
The Problem: Beyond the mess, floating dust is the enemy of a perfect finish. If dust is still settling while the technician applies the topcoat, those tiny particles get trapped, leaving your floor feeling like sandpaper.
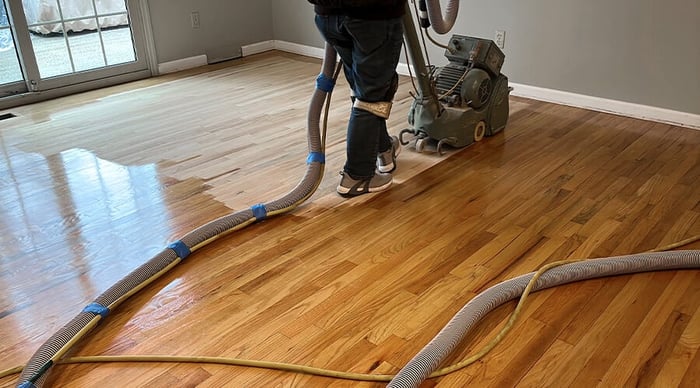
The Fix: At Rovin's Flooring, we utilize Dustless Hardwood Floor Sanding. We use advanced industrial sanding equipment connected to high-powered vacuums with HEPA filtration. This contains the mess at the source, keeping your home clean and ensuring the finish dries perfectly smooth.
3. Choosing the Wrong Stain (The Red Oak Trap)
Chicago is the land of Red Oak. It was the standard building material for decades. Today, many homeowners want that trendy, cool-toned gray or a "white-washed" Scandinavian look.
The Problem: Red Oak has natural pink and red undertones. If you apply a cool gray stain directly onto Red Oak, the red tones will bleed through, leaving you with a floor that looks muddy or even slightly purple. Another mistake is picking a color from a tiny 1-inch square on a screen and expecting it to look the same on a 500-square-foot floor.
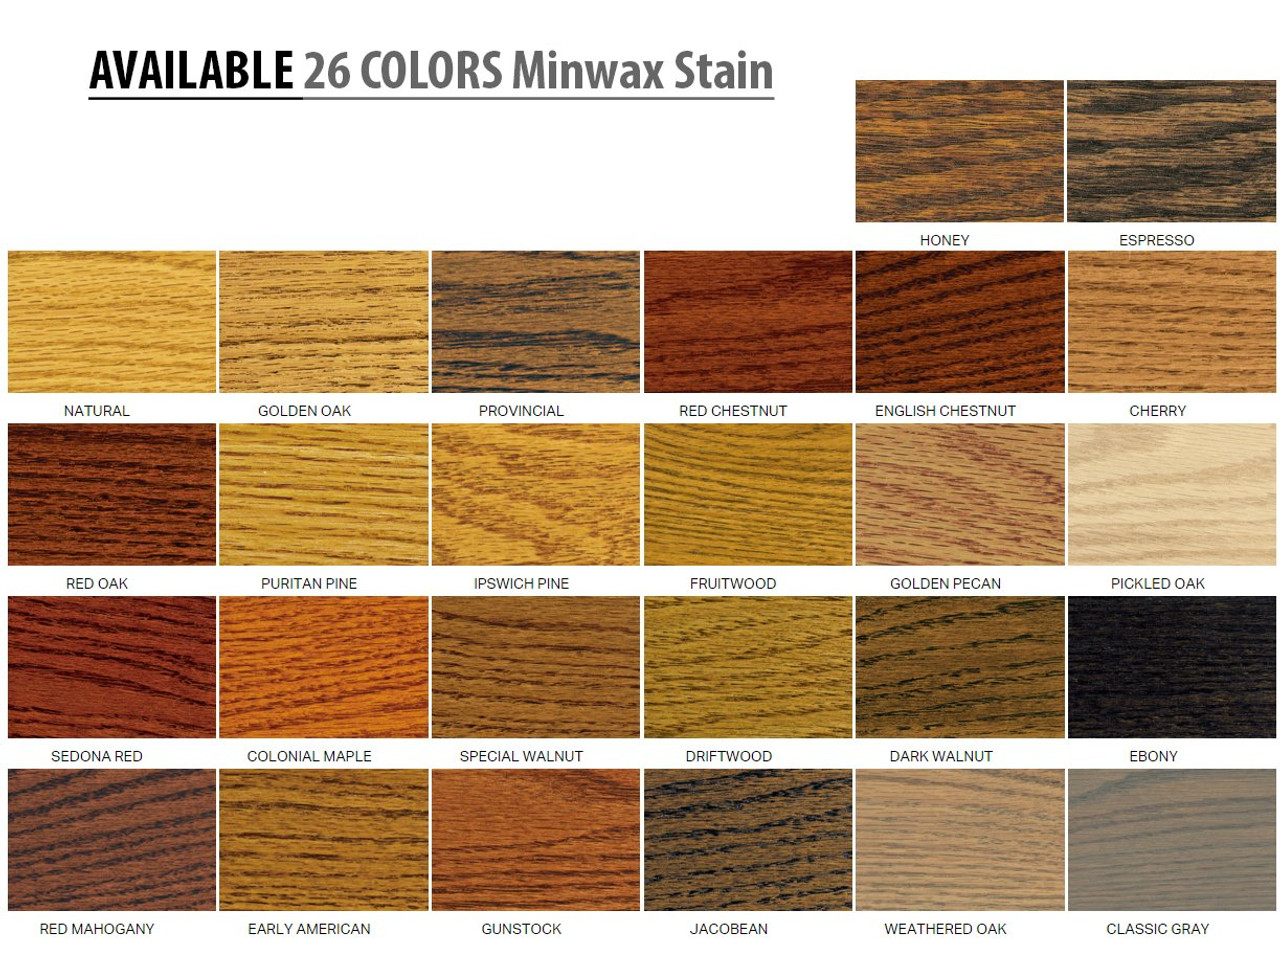
The Fix: Pro color testing is non-negotiable. We always recommend applying several stain samples directly onto your sanded floor in the actual room where they will live. This allows you to see how the wood reacts and how the light hits the color. If you’re trying to turn Red Oak gray, you need a professional to "neutralize" the red first using specific bleaching or pre-treatment techniques. Check out our material guide for more on wood types.
4. Applying Thick "Glop" Coats of Finish
There is a common misconception that "the thicker the coat, the better the protection." This couldn't be further from the truth.
The Problem: When finish is applied too thickly, it doesn't cure properly. It can stay soft for weeks, leading to "orange peel" textures, bubbles, or even peeling (known as "poly-beading"). Thick coats are also prone to cracking as the wood naturally moves.
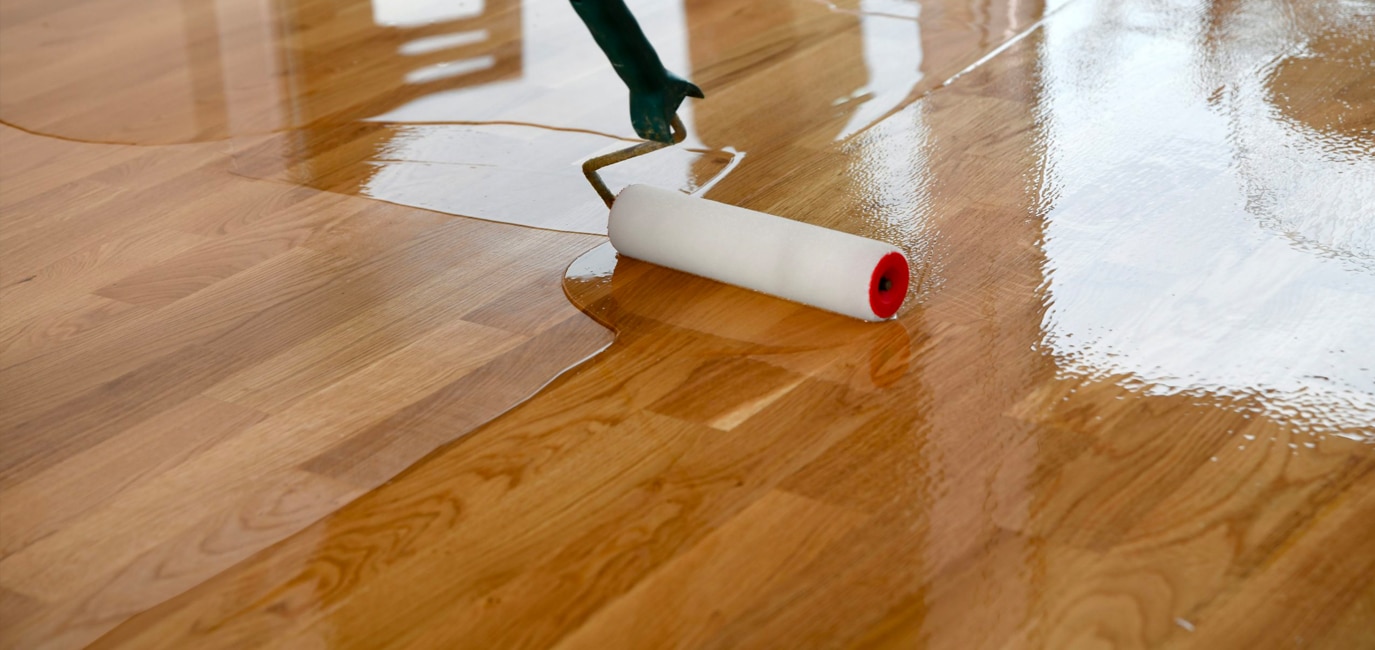
The Fix: The secret to a durable floor is multiple thin, even layers. By applying thin coats and lightly "screening" or abrading the floor between coats, we ensure maximum adhesion and a finish that is tough enough to withstand heavy foot traffic without losing its clarity.
5. Ignoring Chicago’s Wild Humidity
Chicago weather is famous for its swings. We go from "frozen tundra" in January to "tropical rainforest" in July.
The Problem: Wood is a hygroscopic material: it breathes. It expands when it's humid and contracts when the air is dry. If you refinish a floor that hasn't acclimated to your home's specific environment, or if you apply finish on a day when the humidity is 90% without climate control, you’re asking for trouble. You might see "cupping" (edges higher than the center) or gaps opening up just weeks after the job is done.

The Fix: We take humidity seriously. Before we even start sanding, we check the moisture content of the wood. We also advise homeowners to keep their HVAC systems running at a consistent temperature for at least a week before and after the project. This ensures the wood is stable and the finish cures at the right rate.
6. Using Low-Quality, Big-Box Store Finishes
It’s tempting to grab the cheapest gallon of polyurethane from a local hardware store. After all, "poly is poly," right? Not quite.
The Problem: Cheap finishes often have a high VOC (Volatile Organic Compound) content, meaning they smell terrible for weeks and are worse for your indoor air quality. More importantly, they lack the "solids" and hardening agents found in professional-grade products. They wear down quickly in high-traffic areas, meaning you’ll be refinishing your floors again in three years instead of ten.
The Fix: We use premium oil-based and water-based coatings that are designed for longevity. Modern water-based finishes, like those from Bona or Loba, are incredibly durable, don't yellow over time, and allow you to stay in your home without the overwhelming chemical fumes. It’s an investment in the long-term health of your home.
7. The "Patience Problem" (Walking on it Too Soon)
We get it: you want your house back. You want to put your sofa back in its spot and let the dog run around.
The Problem: Just because a floor is "dry to the touch" doesn't mean it’s "cured." It can take anywhere from 3 to 21 days for a finish to reach its full hardness, depending on the product used. Walking on it with shoes, dragging furniture, or laying down area rugs too early can cause permanent indentations or "ghosting" marks in the finish.
The Fix: Follow the cure times religiously. We usually recommend waiting at least 24 hours before walking on the floors in clean socks, and at least 48-72 hours before bringing back light furniture (with felt pads!). As for the dog and the area rugs? Give it at least a full week. For more tips on keeping your floors perfect, check our maintenance guide.
Why Professional Refinishing Matters
Refinishing your floors is one of the best ways to increase the value of your home, but only if it’s done right. A botched DIY job often ends up costing twice as much to fix because a professional has to sand away even more of your precious wood to correct the mistakes.
At Rovin's Flooring Inc, we specialize in helping homeowners across Chicago: from the city limits out through the North and West suburbs: achieve the "magazine-cover" look without the headache. We understand the local wood species, the local climate, and the high standards of Chicago homeowners.
Don't risk your home's most beautiful asset. Whether you need a simple screen-and-coat or a full-scale restoration of century-old oak, we have the tools and the expertise to handle it.
Ready to stop making mistakes and start loving your floors?
Get a free estimate from Rovin's Flooring today and let our expert technicians bring your hardwood back to life. You can also browse our gallery to see the transformations we've completed for your neighbors!