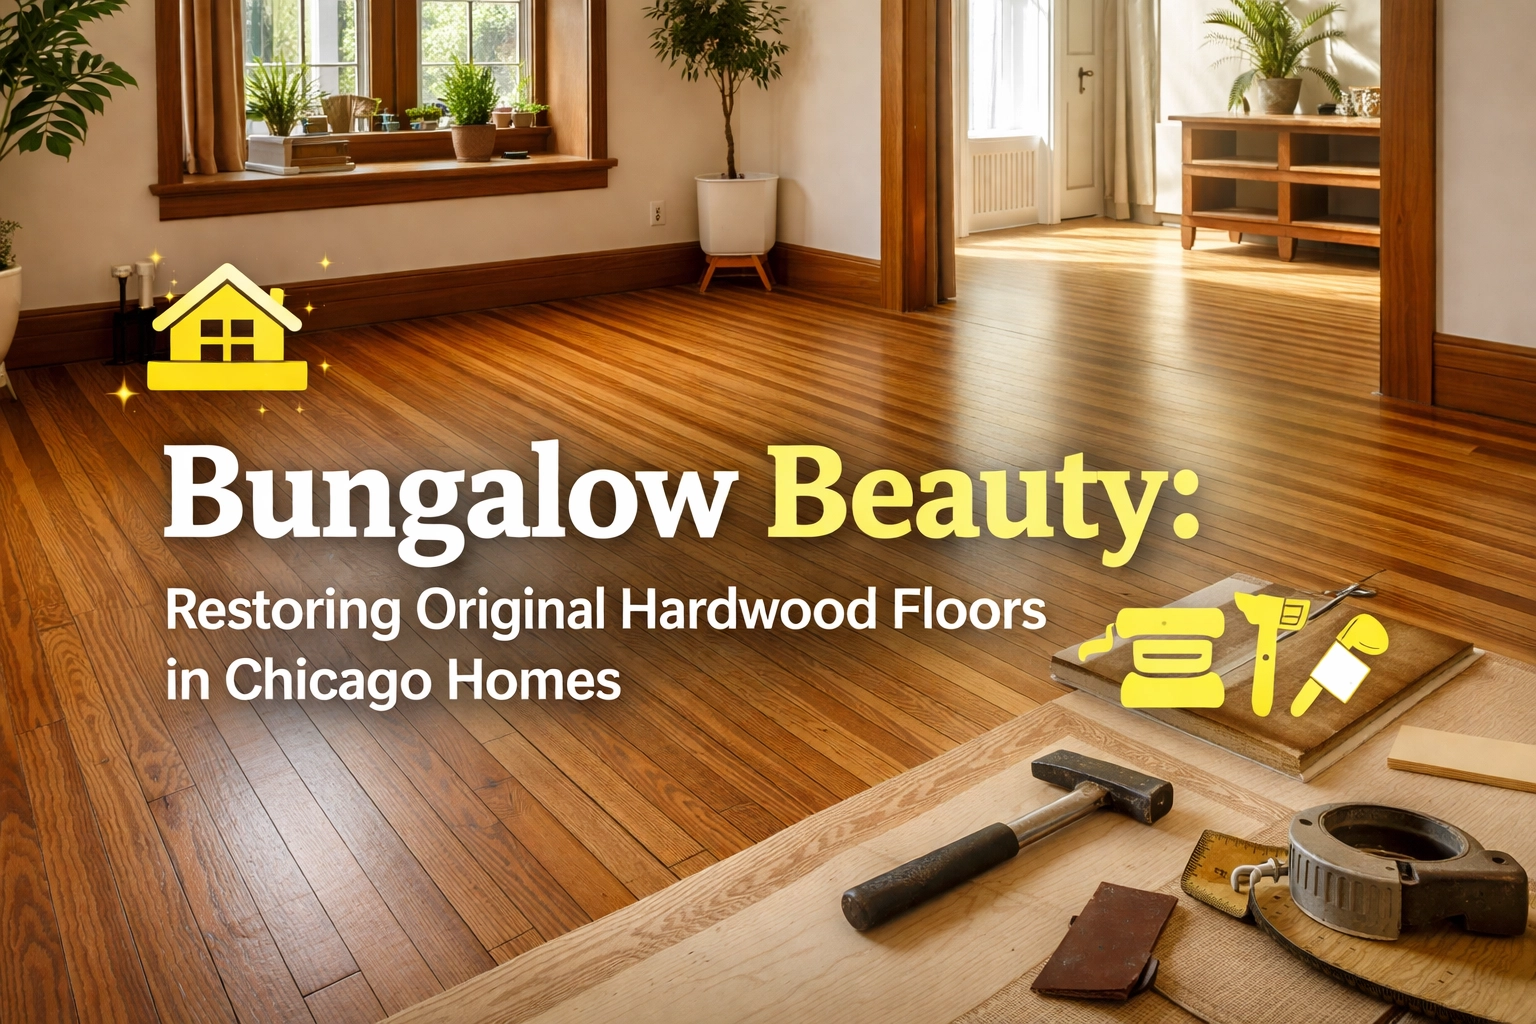
There's something special about walking into a classic Chicago bungalow or Victorian home. Maybe it's the built-in cabinetry, the cozy layouts, or those gorgeous original hardwood floors that have been underfoot for nearly a century. If you're lucky enough to own one of these beauties, or you're eyeing one in neighborhoods like Albany Park, Oak Park, or Evanston, you've probably wondered: can those worn, scratched-up floors actually be saved?
The short answer? Almost always, yes. And restoring them is usually a much smarter move than ripping them out and starting fresh.
Let's talk about why refinishing original hardwood floors is worth the effort, what the process actually looks like, and how modern dustless sanding has made the whole thing way less messy than your grandparents remember.
Why Chicago Bungalows Have Such Great Bones
Chicago's bungalow belt is legendary. Built mostly between 1910 and 1940, these one-and-a-half-story homes were constructed with craftsmanship that's honestly hard to find today. And the floors? They're a big part of that story.
Most original bungalow floors were made from solid Red Oak, a species that's not only beautiful but incredibly durable. Red Oak was plentiful in the Midwest during that era, and it became the go-to choice for flooring throughout Chicago and the surrounding suburbs stretching north toward Lake Forest and west toward Naperville.
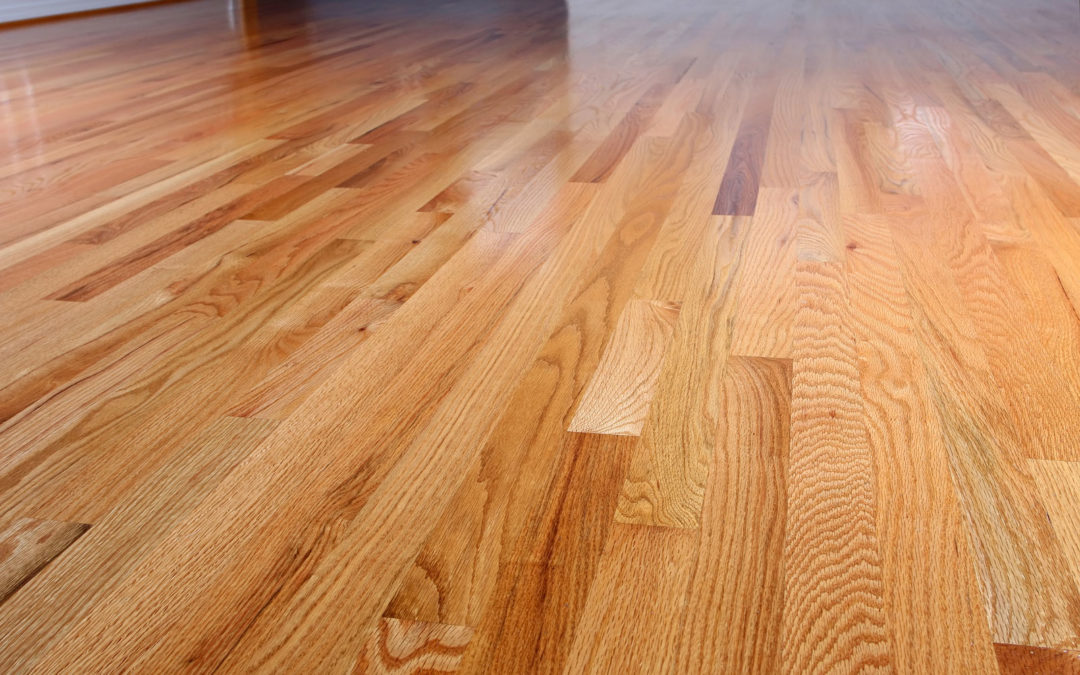
What makes Red Oak so special? It has a distinctive grain pattern with those signature rays and figuring that give floors real character. It's also hard enough to handle decades of foot traffic, furniture moves, and yes, even the occasional dropped cast-iron skillet. The warm, honey-toned color deepens over time, adding to its charm.
Victorian homes in the area often feature even more exotic species: sometimes White Oak, maple, or even heart pine in certain rooms. These floors tell the story of the home and the era it was built in. That's history you just can't replicate with new materials.
Refinishing vs. Replacing: The Smart Money Move
Here's a question we hear all the time: "Should I just tear out these old floors and install something new?"
Unless your floors have severe structural damage: we're talking rotted subfloors, termite destruction, or boards that are literally falling apart: refinishing is almost always the better choice. Here's why:
Cost savings are significant. Refinishing typically costs a fraction of what full replacement runs. You're working with material that's already there, already acclimated to your home, and often of higher quality than what you'd buy new today.
You preserve the home's character. There's a reason buyers pay a premium for homes with original hardwood floors. That authenticity matters, especially in historic neighborhoods throughout the Chicago area and the suburbs extending north and west within our 60-mile service radius.
It's faster. A refinishing project for an average-sized room takes just a few days, while a full tear-out and installation can stretch into weeks.
Environmental impact. Keeping existing floors means less waste heading to landfills and fewer new resources consumed. It's the green choice.
The only real exception? If the floors have been sanded down too many times over the decades and there's not enough wood thickness left to work with. A professional can measure this for you: solid hardwood floors can typically be refinished 4-6 times over their lifespan, so there's usually plenty of material to work with.
What Restoration Actually Looks Like
So what happens when you commit to restoring those original floors? The process is pretty straightforward, though it does require professional equipment and expertise to get right.
Step 1: Assessment and Inspection
Before any work begins, a flooring specialist will evaluate your floors' condition. They're looking for scratches, dents, water damage, gaps between boards, and any structural concerns. This assessment determines what level of restoration is needed and whether any boards need to be replaced.
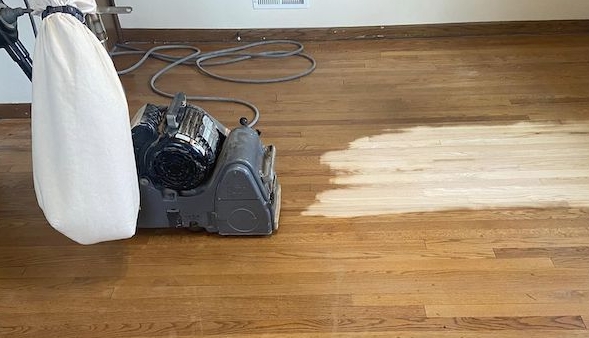
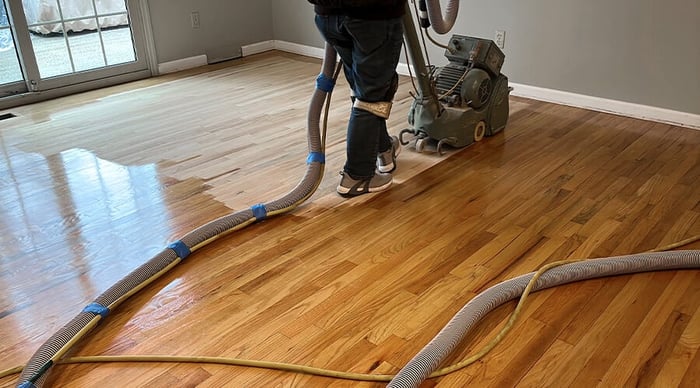
Step 2: Sanding (The Dustless Way)
This is where the magic happens. Sanding removes the old, worn finish and reveals the fresh wood underneath. All those scratches, scuffs, and years of wear? Gone.
Now, if you've heard horror stories about refinishing projects: dust covering every surface in the house, plastic sheeting everywhere, needing to move out for a week: we get it. Traditional sanding was messy. Really messy.
But modern dustless sanding technology has changed the game completely. Today's professional equipment captures over 95% of the dust produced during sanding. That means you're not finding sawdust in your kitchen cabinets six months later, and the air quality in your home stays much healthier during the process.
For homes in the Chicago area, especially older bungalows and Victorians where you might be dealing with multiple rooms of original hardwood, dustless sanding makes restoration practical in a way it wasn't before.
Step 3: Repairs
If there are deep gouges, water stains, or gaps between boards, this is when they get addressed. Sometimes individual boards need to be replaced: a skilled craftsman can weave in new wood that matches the existing floor so seamlessly you'd never know it wasn't original.
For antique floors, this step requires extra care. The goal is balancing modern restoration techniques with historical preservation, using products and methods that respect the original craftsmanship.
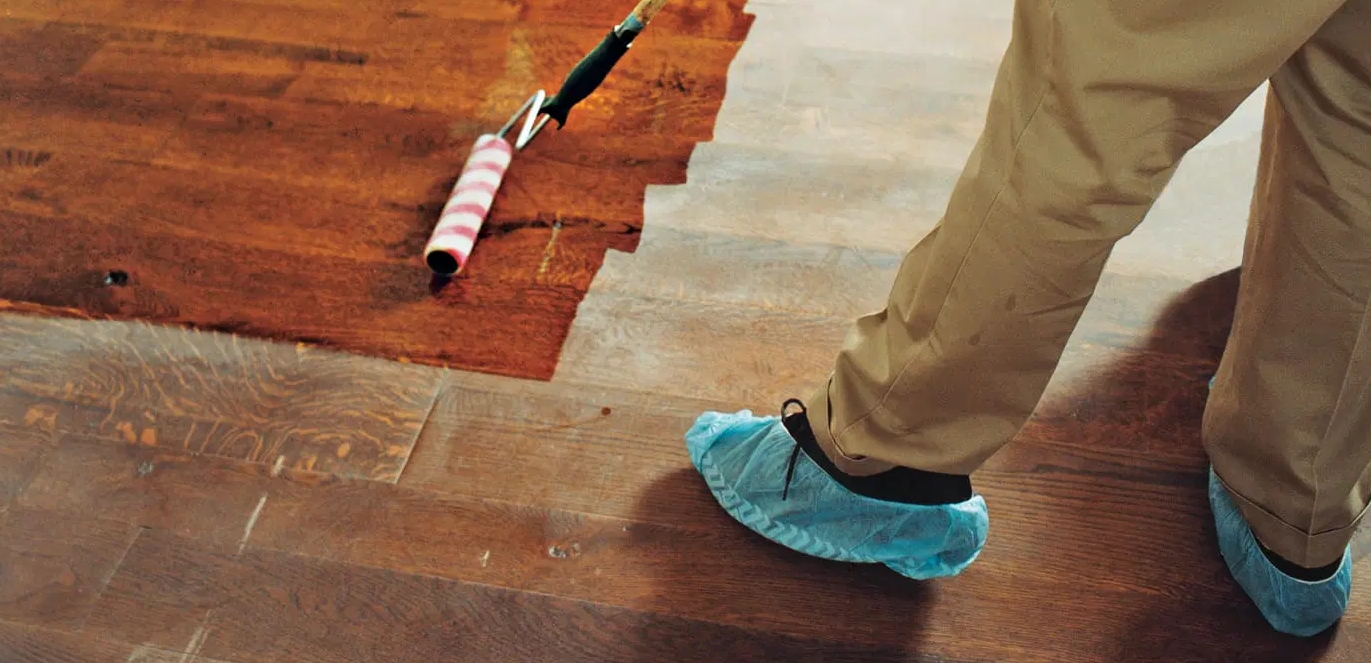
Step 4: Staining (Optional) and Finishing
Once the floor is sanded smooth and repaired, you have choices to make. You can keep the natural color of the wood: Red Oak's warm tones are gorgeous on their own: or apply a stain to shift the color.
Popular choices right now include classic golden oak tones, richer Provincial or Special Walnut shades, and even on-trend options like Jacobean or Classic Gray for a more contemporary look. If you want to see what's possible, check out our guide on choosing the perfect hardwood species and finishes for Chicago homes.
After staining (or directly on bare wood if you're going natural), multiple coats of protective finish are applied. You'll choose between water-based and oil-based finishes: each has its advantages depending on your priorities for durability, dry time, and appearance.
Timeline: How Long Does This Actually Take?
For smaller spaces: say, 200 to 500 square feet: you're looking at about 2-3 days from start to finish. Larger areas or whole-home projects run 4-5 days or more, depending on the floor's condition and how extensive the repairs are.
The finish needs time to cure before you can move furniture back and resume normal life. Your flooring contractor will give you specific guidance, but generally plan on staying off the floors for at least 24-48 hours after the final coat, with full cure taking a bit longer.
It's a short-term inconvenience for a long-term payoff. Those restored floors will look stunning for another decade or more with proper care. Speaking of which, if you want to protect that investment: especially during our brutal winters: take a look at our Chicago winter survival guide for hardwood floors.
Finding the Right Team for the Job
Restoring original hardwood floors isn't a weekend DIY project. The equipment required: commercial-grade sanders, dustless vacuum systems, professional-quality finishes: represents a significant investment, and using them properly takes training and experience.
More importantly, antique floors have quirks. The wood has character. Board widths might vary. There could be old repairs or patches that need to be addressed thoughtfully. You want someone who appreciates what they're working with and treats those floors with the respect they deserve.
At Rovin's Flooring Inc, we've been restoring original hardwood floors throughout Chicago and the surrounding areas: north toward the Wisconsin border and west toward DeKalb: for years. We've seen just about every condition these old floors can throw at us, and we love bringing them back to life.
Ready to See What's Hiding Under Those Worn Floors?
If you're living with scratched, dull, or damaged original hardwood floors, don't write them off. Beneath that tired surface is likely gorgeous wood just waiting to shine again.
Chicago bungalow floor restoration is one of the best investments you can make in your home: it boosts value, preserves character, and gives you floors that feel connected to your home's history.
Curious what your floors could look like? Get in touch with us for a free assessment. We'll take a look, let you know what's possible, and give you honest advice on whether refinishing makes sense for your situation.
Those floors have been part of your home's story for nearly a century. Let's make sure they're around for the next chapter too.