
Hardwood flooring can transform your Chicago home from ordinary to stunning. But here's the thing: installation isn't as simple as laying down some planks and calling it a day. Chicago's unique climate, combined with the technical demands of hardwood installation, means there are some critical things you need to know before you start.
Whether you're in the city or anywhere within a 60-mile radius extending North and West, these 10 essentials will save you headaches, money, and potential floor failures down the road.
1. Acclimation Isn't Optional: It's Essential
You can't just bring hardwood flooring from the truck straight into your home and start installing. The wood needs time to adjust to your home's temperature and humidity levels, and this is especially important in the Chicago area.
At minimum, let your engineered hardwood acclimate for 48 hours in the room where it'll be installed. Keep the flooring in its packaging but store it in the actual space. Run your HVAC system at normal settings during this period so the wood adjusts to real-world conditions.
Why does this matter? Chicago experiences massive seasonal swings: from humid summers to bone-dry winters when furnaces are running. Wood expands and contracts based on moisture content. If you skip acclimation, you're setting yourself up for gaps, cupping, or crowning later.
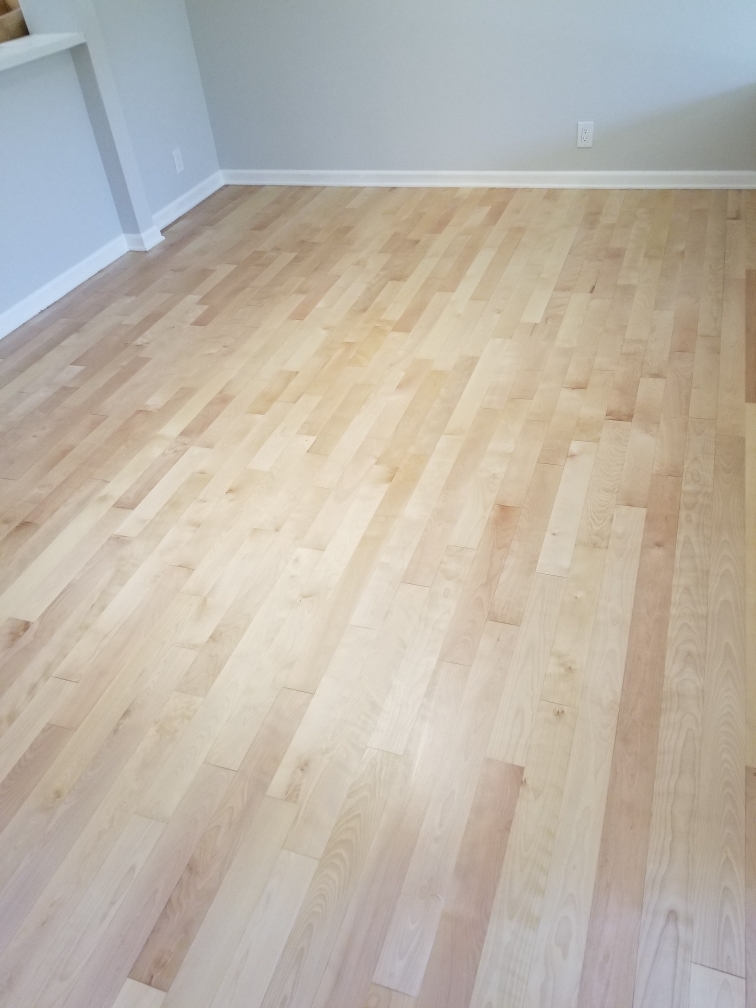
2. Your Subfloor Better Be Level and Clean
A perfectly installed hardwood floor starts beneath the surface. Your subfloor needs to be bone-dry, level, and clean: no exceptions.
Remove all furniture, sweep thoroughly, and use a level or straight edge to check for high and low spots. Any depression deeper than 3/16 inch over a 10-foot span needs correction. Fill low areas with self-leveling compound and sand down high spots.
If you're installing over concrete (common in Chicago basements and condos), check for moisture. Use a moisture meter and ensure readings are within manufacturer specifications. Concrete retains moisture longer than you'd think, especially in our climate.
3. Chicago's Climate Will Put Your Floors to the Test
Let's be real: Chicago weather is brutal on everything, including your floors. We're talking about 90-degree summer days with humidity through the roof, then sub-zero winters where indoor air becomes desert-dry.
Engineered hardwood handles these swings better than solid wood, but proper installation technique is still critical. Your installer needs to account for seasonal movement by leaving appropriate expansion gaps and using the right underlayment.
Consider investing in a whole-home humidifier for winter months and a dehumidifier for summer. Maintaining 35-55% relative humidity year-round will dramatically extend the life of your floors. Our Chicago winter survival guide digs deeper into seasonal protection strategies.
4. Expansion Gaps Aren't Suggestions: They're Requirements
Here's where DIY installations often fail: inadequate expansion gaps. You need a minimum 1/2-inch gap (sometimes 3/4-inch depending on the product) around all walls, doorways, cabinets, and vertical surfaces.
Use spacers religiously throughout installation to maintain consistent gaps. These spaces allow the wood to expand and contract naturally without buckling or warping. Once installation is complete, baseboards and shoe molding will cover these gaps: nobody will see them, but they'll save your floor.
Skipping this step or cutting corners? You'll end up with boards that buckle in humid summer months or gaps that open up during dry winters. Neither scenario is good.
5. Installation Method Actually Matters
Not all installation methods are created equal, and the right choice depends on your subfloor, lifestyle, and budget.
Nail-down or staple-down works great over wood subfloors and provides excellent stability. It's the traditional method and works beautifully for solid hardwood.
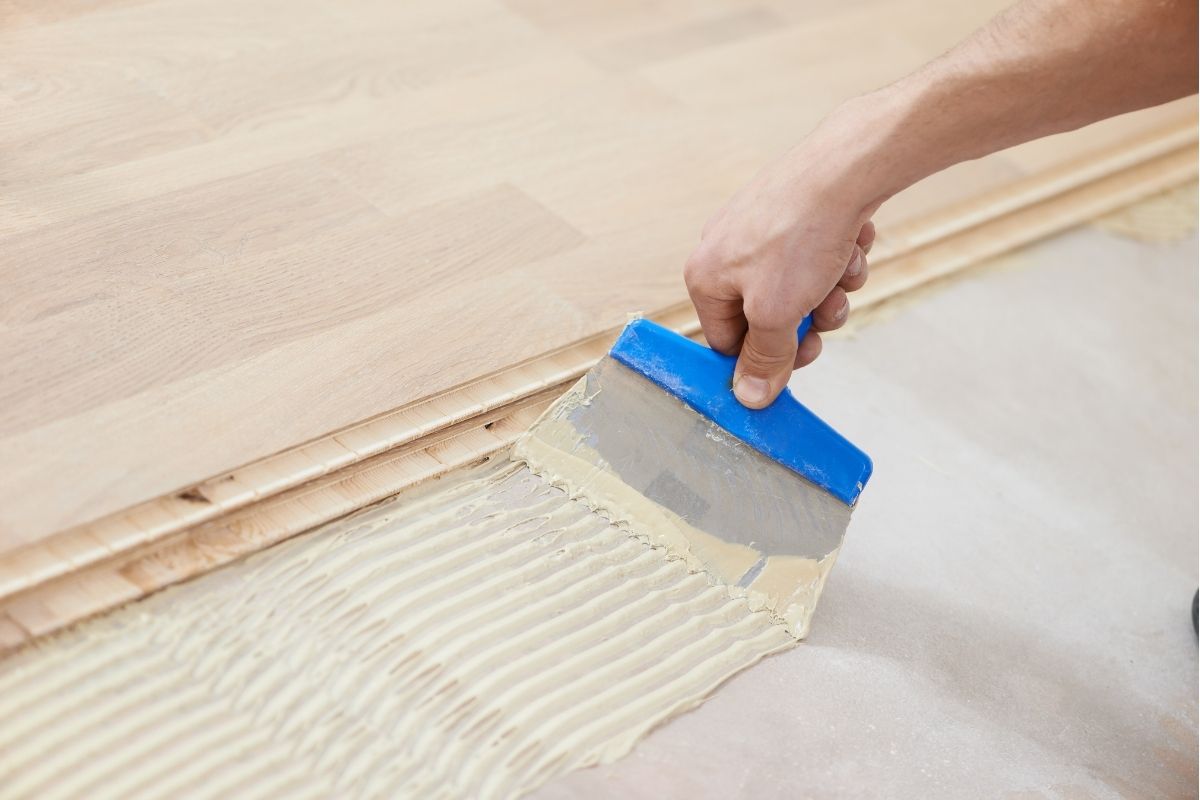
Glue-down is ideal for engineered hardwood over concrete subfloors. It creates a solid bond and minimizes hollow sounds. Use quality adhesive like Franklin's Titebond and follow manufacturer spread rates carefully.
Floating floor systems are popular for engineered hardwood. Boards click together and "float" over underlayment without being fastened to the subfloor. This method is faster and often more forgiving for DIYers, though it can feel slightly less solid underfoot.
For Chicago homes, glue-down and nail-down methods typically provide the best long-term performance against our climate swings.
6. Professional Tools Make a Professional Difference
You wouldn't perform surgery with a butter knife, so don't attempt hardwood installation with inadequate tools. Quality equipment ensures precise cuts, secure fastening, and a professional finish.
Essential tools include:
- Miter saw or table saw for clean, accurate cuts
- Pneumatic flooring nailer or stapler (if nail-down method)
- Rubber mallet and tapping block for tight seams
- Spacers to maintain expansion gaps
- Moisture meter to verify acclimation
- Chalk line or laser level for layout lines
Renting professional-grade equipment often costs less than fixing mistakes made with inadequate tools.
7. Stagger Board Joints Like Your Floor Depends on It (Because It Does)
Proper joint staggering prevents structural weak points and creates a more natural, visually appealing floor. End joints in adjacent rows should be offset by at least 6 inches: never line them up.
For the first three rows, stagger joints by at least 16 inches. Avoid creating "stair-step" patterns where joints progress diagonally in a regular pattern. Random staggering looks best and performs better structurally.
This also helps distribute stress across the floor. Without proper staggering, you risk gaps opening up at seams or even structural failure in high-traffic areas.
8. Starting Right Sets Up Everything That Follows
The first row establishes the alignment for your entire floor. Start along the longest, straightest wall, with the groove edge facing away from the wall.
Before laying any planks, snap a chalk line or use a laser level to create a perfectly straight guide line parallel to your starting wall. Double-check that this line is straight: don't just assume your wall is square (it probably isn't).
Work from multiple boxes simultaneously to mix plank variations naturally. Wood is a natural product with color and grain variations. Mixing from different boxes ensures you don't end up with clusters of similar-looking boards.
9. Set Realistic Timeline Expectations
Professional hardwood installation typically takes a few days for an average-sized room, not including acclimation time. For a 300-square-foot room, expect one to two days of installation work.
If using adhesive, add 24 hours of cure time before walking on the floor. Full cure time can be several days, so plan furniture placement accordingly.
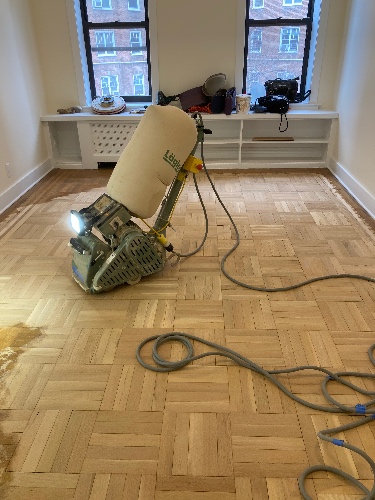
Engineered hardwood often comes prefinished, which is a huge time-saver compared to unfinished hardwood that requires sanding and multiple finish coats. If you're considering refinishing existing floors instead, check out our guide on whether to repair, refinish, or replace.
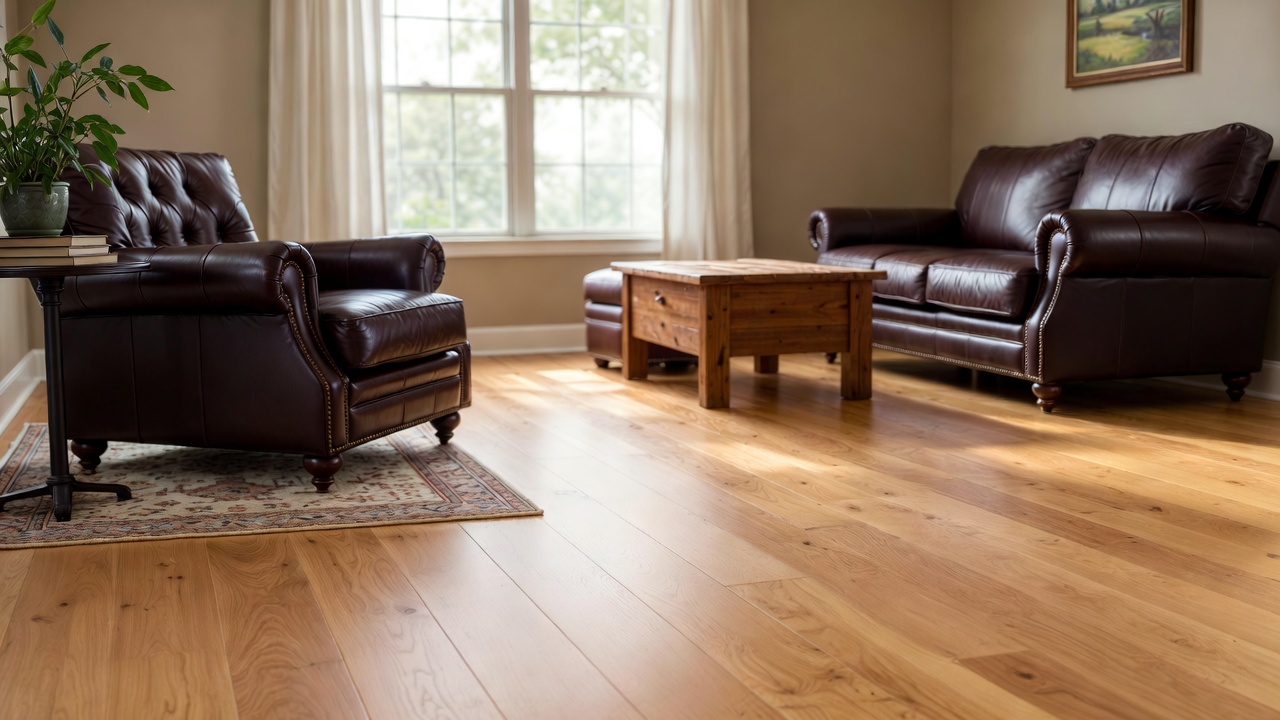
10. Finishing Touches Complete the Professional Look
Once all planks are installed, the job isn't done. Install baseboards and shoe molding to cover expansion gaps and create a polished, finished appearance.
For glued installations, clean excess adhesive frequently with a damp cloth while it's still wet. Once adhesive dries, it's much harder to remove and can leave hazy residue.
If you used adhesive or glue-down method, tape boards together at seams with 3-M Blue Tape during installation to prevent shifting while the adhesive cures.
Inspect your work carefully before declaring the project complete. Look for any gaps, uneven areas, or boards that need adjustment. Catching issues now is much easier than fixing them later.
The Bottom Line
Hardwood flooring installation in Chicago requires attention to detail, proper preparation, and respect for our unique climate challenges. Whether you're tackling this as a DIY project or hiring a professional, understanding these 10 fundamentals will help ensure your floors look stunning and perform beautifully for decades.
The difference between a good hardwood floor and a great one often comes down to these details: acclimation, subfloor prep, expansion gaps, and proper technique. Get them right, and you'll have floors that handle everything Chicago weather throws at them.
Serving Chicago and extending 60 miles North and West, Rovin's Flooring Inc has seen every hardwood installation scenario imaginable. If you'd like professional guidance or a quote for your project, visit our website or give us a call. We'd love to help you avoid the common pitfalls and create the hardwood floors of your dreams.