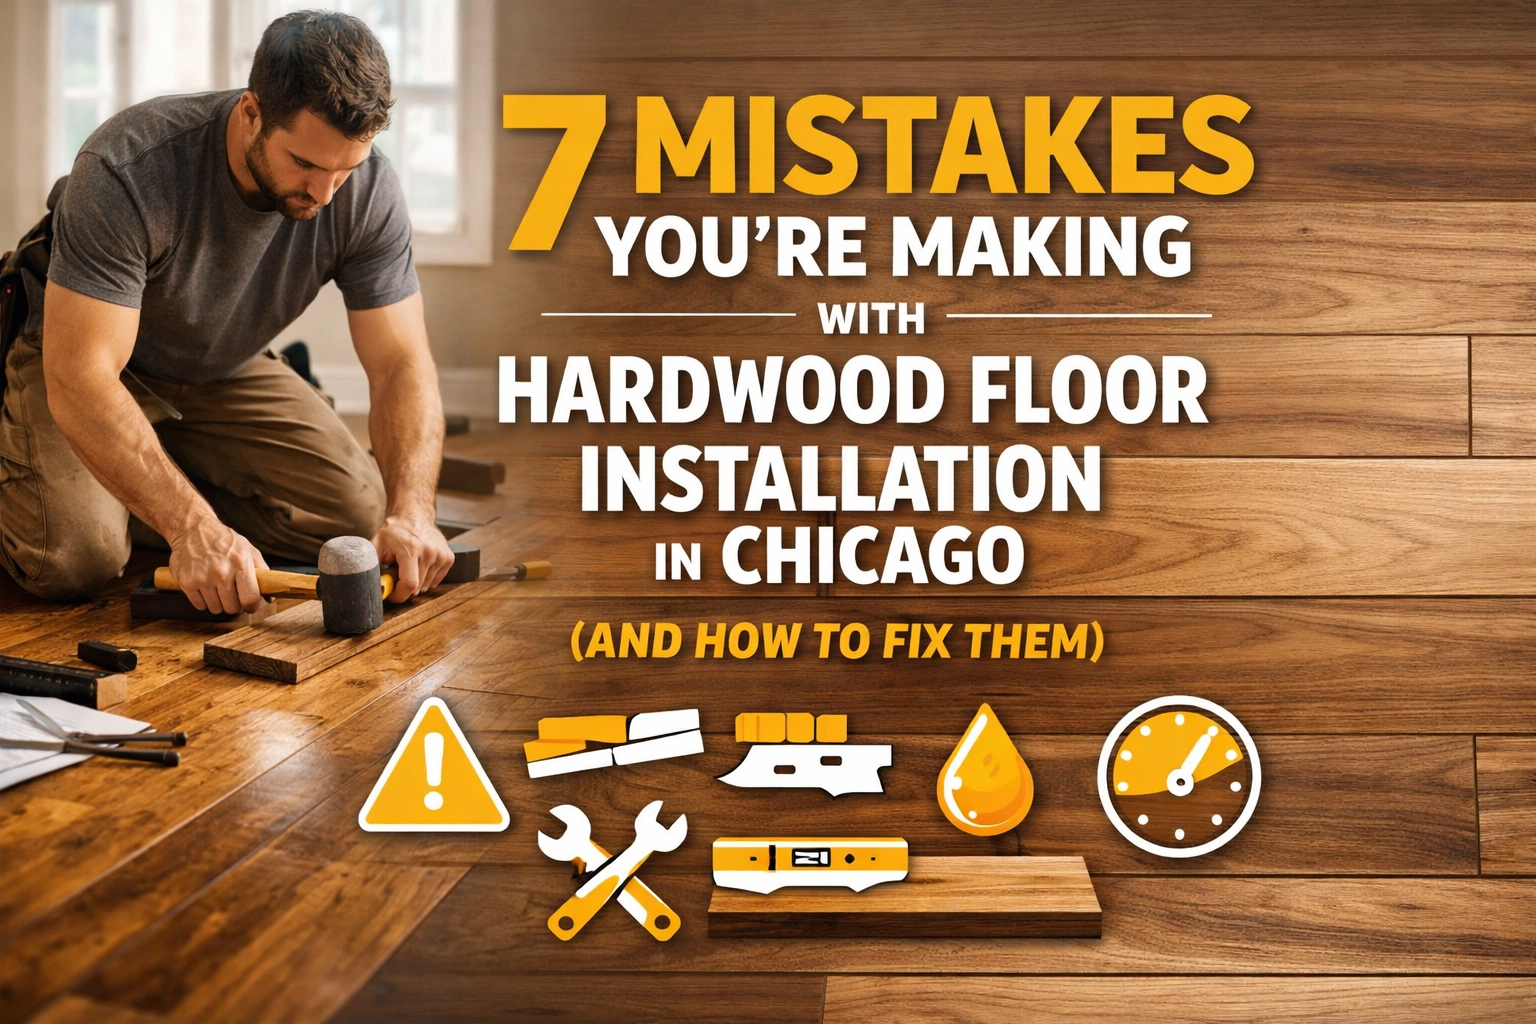
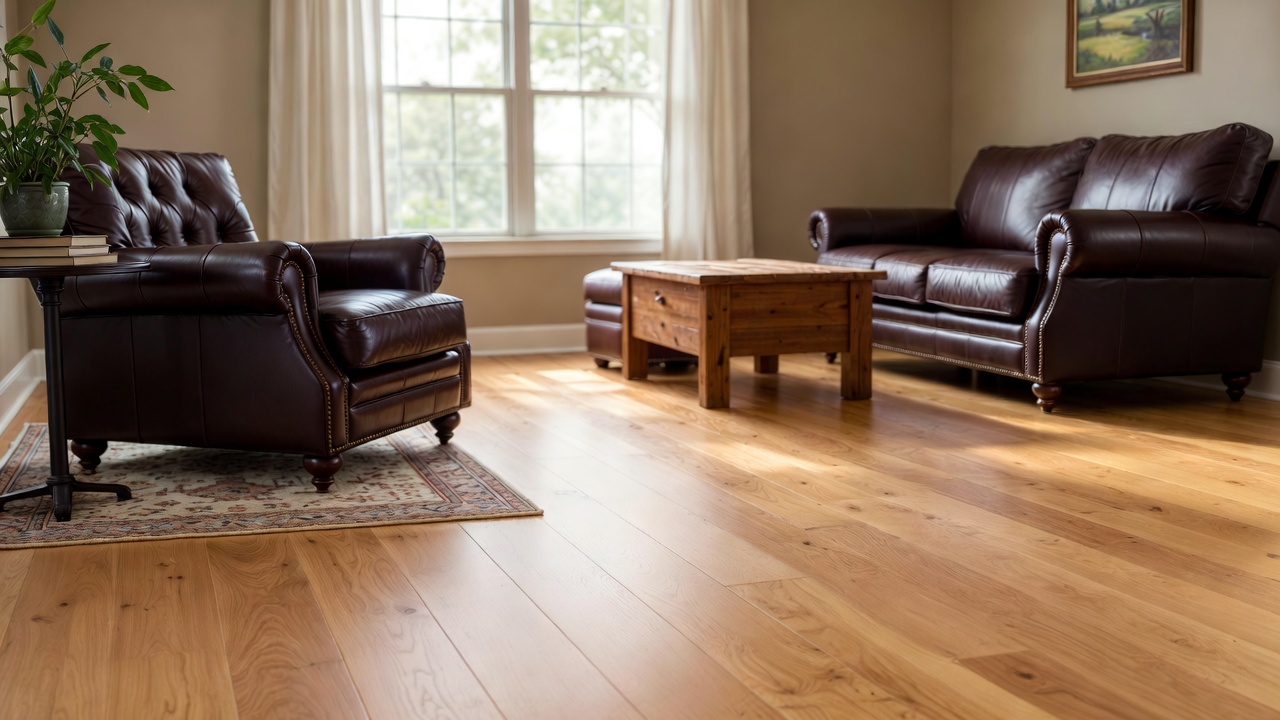
Installing hardwood floors isn't rocket science, but it's not exactly a weekend DIY project either, especially here in Chicago where our climate throws curveballs year-round. Between the humidity swings, brutal winters, and temperature extremes, what works in Phoenix or Miami won't necessarily work in the Midwest.
Over the years working with homeowners throughout Chicago and the 60-mile radius extending North and West, we've seen the same installation mistakes pop up again and again. The good news? They're all preventable. Here's what to watch out for.
Mistake #1: Installing Over an Unprepared or Uneven Subfloor
Let's start with the foundation, literally. Your subfloor is everything. If it's not flat, clean, and structurally sound, nothing else matters.
The problem: An uneven subfloor creates hollow spots under your planks. You'll hear squeaks, feel movement, and eventually see gaps or buckling. Paint residue, old adhesive, drywall mud, or grease? They'll prevent proper adhesion and cause premature failure.
The fix: Your subfloor needs to be within 3/16″ of flatness over a 10-foot span, that's the industry standard. Use a leveling compound where needed. Mechanically scrape or grind away any contaminants. Don't rush this step. A weekend spent prepping the subfloor will save you from a headache (and expensive repairs) later.
Mistake #2: Skipping the Acclimation Period
We get it, you're excited to see those new floors installed. But patience pays off here.
The problem: Wood is hygroscopic, which is a fancy way of saying it absorbs and releases moisture based on its environment. Install boards straight from the truck, and they'll expand or contract once they adjust to your home's humidity levels. That means cupping, gaps, or buckling down the road.
The fix: Let your flooring acclimate in the actual room where it'll be installed for at least 3-7 days (check manufacturer specs). Keep the HVAC running at normal living temperatures. Open the boxes and stack the planks with spacers between them so air circulates. Yes, it's boring. Yes, it's worth it.
Chicago's humidity can swing from 20% in January to 70% in July. Acclimation isn't optional here: it's essential.
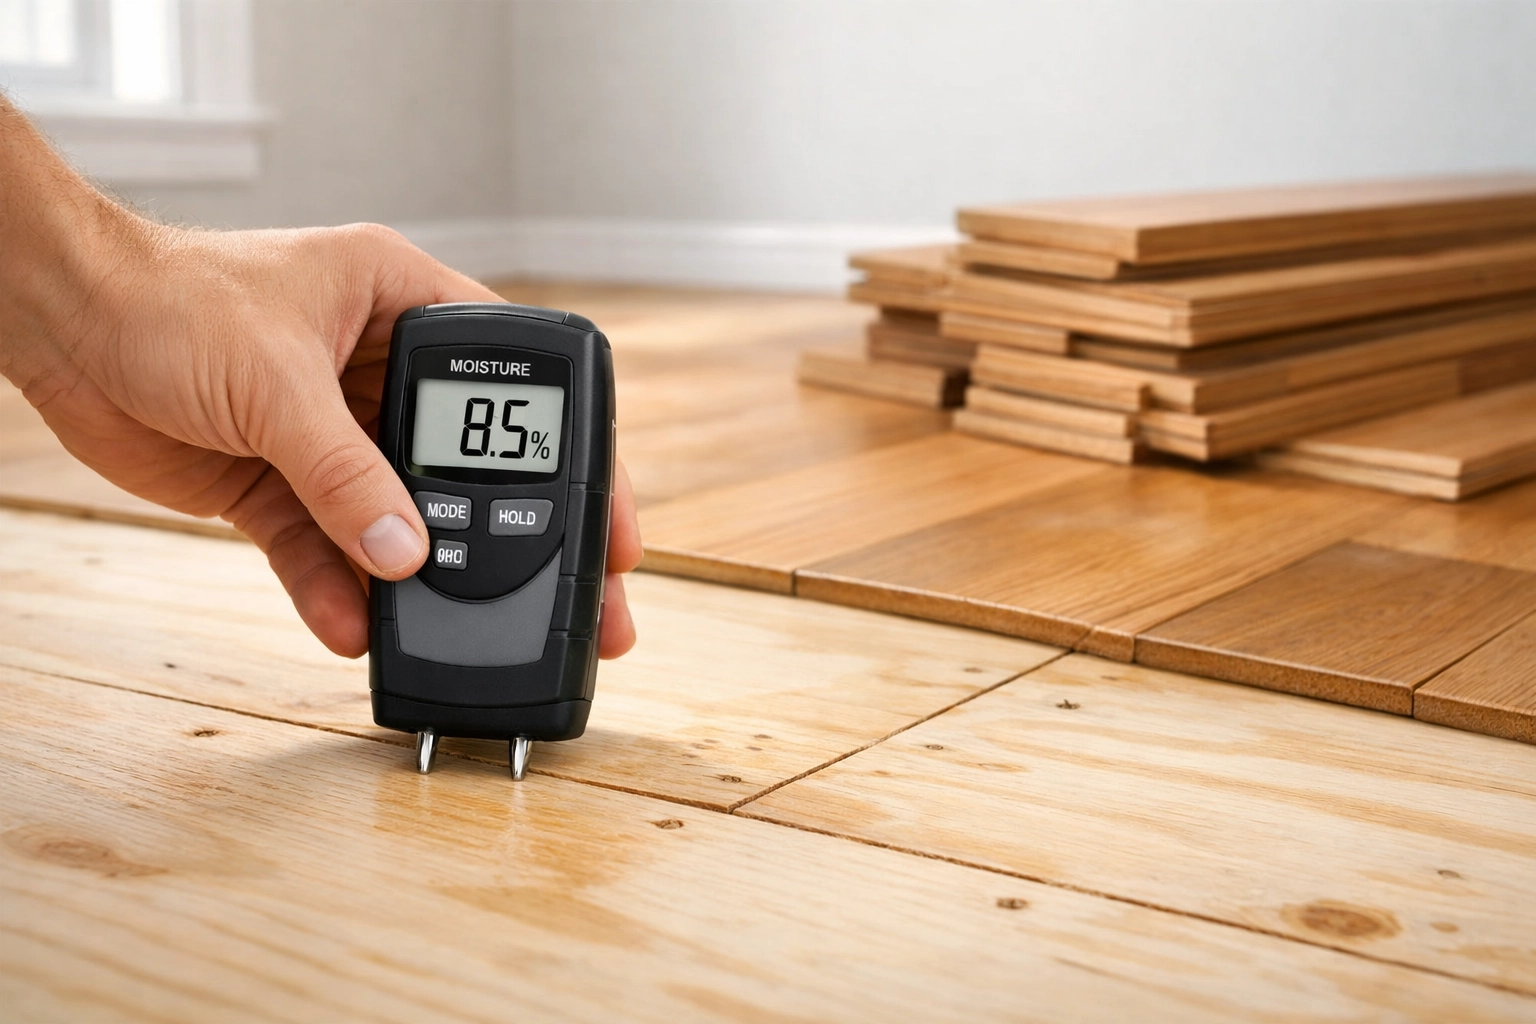
Mistake #3: Ignoring Moisture Testing
This is the #1 cause of hardwood flooring failures. Period.
The problem: Too much moisture causes planks to swell and cup. Too little causes them to shrink and gap. Either way, you're looking at expensive repairs or even full replacement.
The fix: Always: and we mean always: test moisture levels before installation. Use a calibrated moisture meter following ASTM F2170 standards for concrete subfloors or pin/pinless meters for wood subfloors. Your readings need to meet both manufacturer and NWFA (National Wood Flooring Association) standards.
Also test the actual humidity in the room. In Chicago, basement installations are especially tricky. A dehumidifier might be necessary year-round to maintain stable conditions.
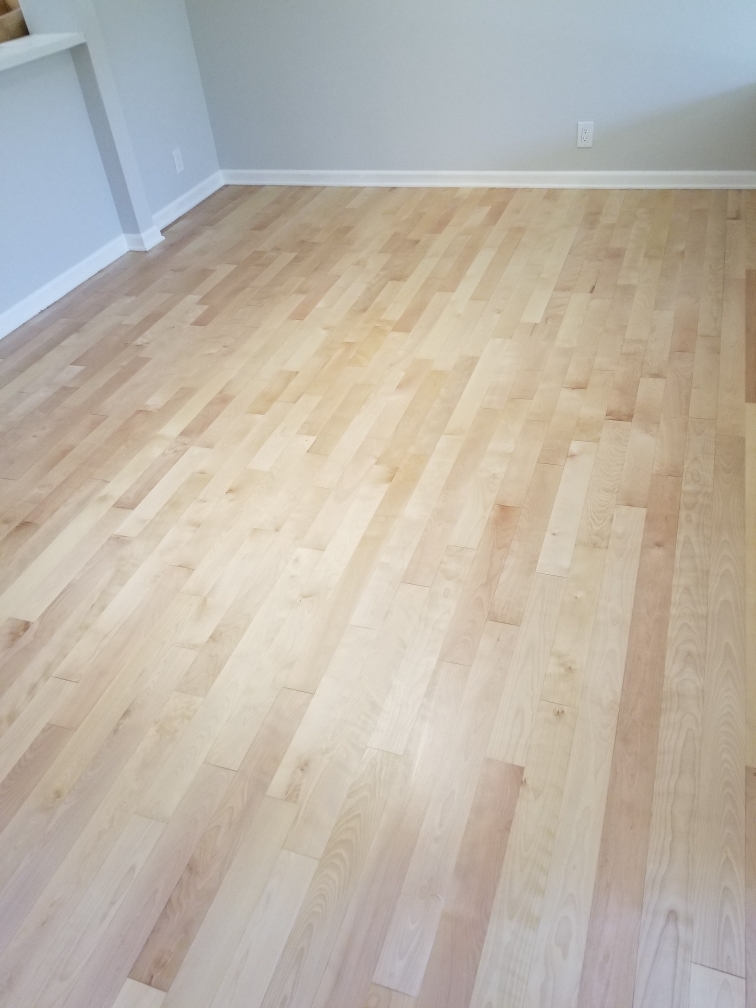
Mistake #4: Choosing the Wrong Wood Species for Chicago's Climate
Not all hardwoods are created equal, and some species simply perform better in our Midwest climate.
The problem: Installing a soft species like pine or fir in high-traffic areas leads to dents, scratches, and premature wear. Some exotic woods are also more finicky about humidity changes than domestic species.
The fix: Look at the Janka hardness rating. For Chicago homes, we typically recommend:
- Red or White Oak (both around 1,300 on the Janka scale)
- Hard Maple (1,450)
- Hickory (1,820) for high-traffic areas
These species handle our climate changes better and stand up to heavy use. They're also easier to refinish when needed.
Character grade can actually be a smart choice: the natural variation disguises minor scratches and wear better than select grade.
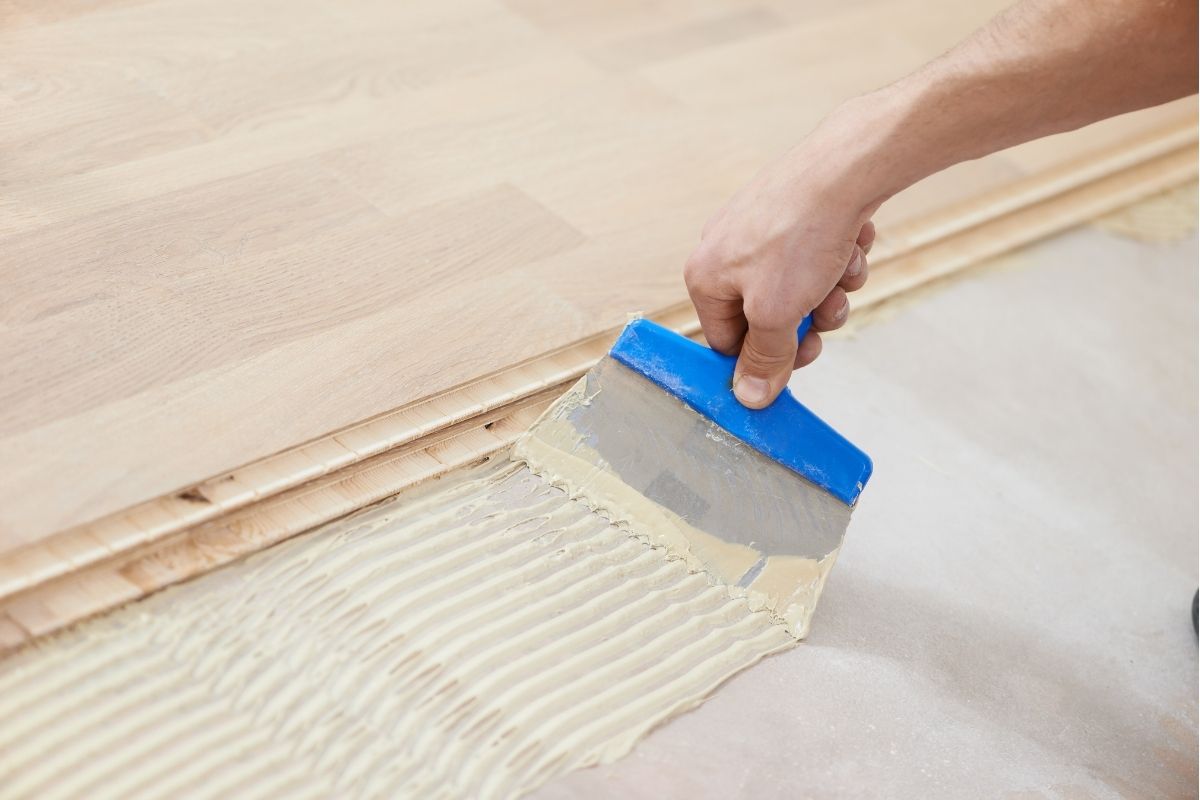
Mistake #5: Improper Fastening and Spacing
This is where we see a lot of DIY installations go wrong.
The problem: Too few fasteners and your boards will move, squeak, and eventually separate. Too many and the floor becomes overly rigid, leading to cracking or splitting when the wood naturally expands.
The fix: Follow NWFA guidelines religiously. Cleats or staples should be placed every 10-12 inches along each plank. Use the right size fasteners for your flooring thickness: this isn't a place to improvise.
Pneumatic nailers make this easier and more consistent, but they require practice. If you're renting one for a DIY project, practice on scrap pieces first.
Mistake #6: Forgetting Expansion Gaps
Wood moves. It always has, it always will. Your installation needs to account for that.
The problem: Without proper expansion gaps around the perimeter and at transitions, your floor has nowhere to go when humidity rises. The result? Buckling, cupping, and boards pushing up against walls or cabinets.
The fix: Leave a 3/4″ gap around all edges of the room: walls, doorways, cabinets, and fixed objects. Use spacers during installation to maintain consistent gaps. These will be covered by baseboards and transition strips, so don't worry about aesthetics.
In Chicago, where we can see 50% humidity swings between seasons, this isn't negotiable. We've seen beautiful installations ruined because someone wanted to save an inch of space.
Mistake #7: Poor Layout Planning
Measure twice, cut once: but also plan three times before you start.
The problem: Starting installation without a clear layout plan leads to crooked lines down hallways, awkward narrow pieces at walls, and wasted material. It also increases labor time and costs.
The fix: Map out your entire installation before you make the first cut. Account for the fact that rooms are rarely perfectly square. Determine your starting point based on the room's focal point: usually the most visible wall when you enter.
Calculate how wide your final row will be. If it's going to be less than 2 inches, adjust your starting point so you get more balanced widths on both sides. This takes an extra hour upfront but saves you from an installation that looks obviously DIY.
The Bottom Line
Hardwood floor installation in Chicago requires attention to detail and respect for our unique climate challenges. Rushing any of these steps: from subfloor prep to final layout: can turn a beautiful investment into an expensive problem.
If you're in Chicago or the surrounding areas to the North and West, we're here to help whether you need a full installation or just want a second opinion on your DIY project. Sometimes the best investment isn't in the materials: it's in getting professional guidance before problems happen.
Want to learn more about protecting your investment after installation? Check out our Chicago winter survival guide or learn about choosing the right finish for your lifestyle.