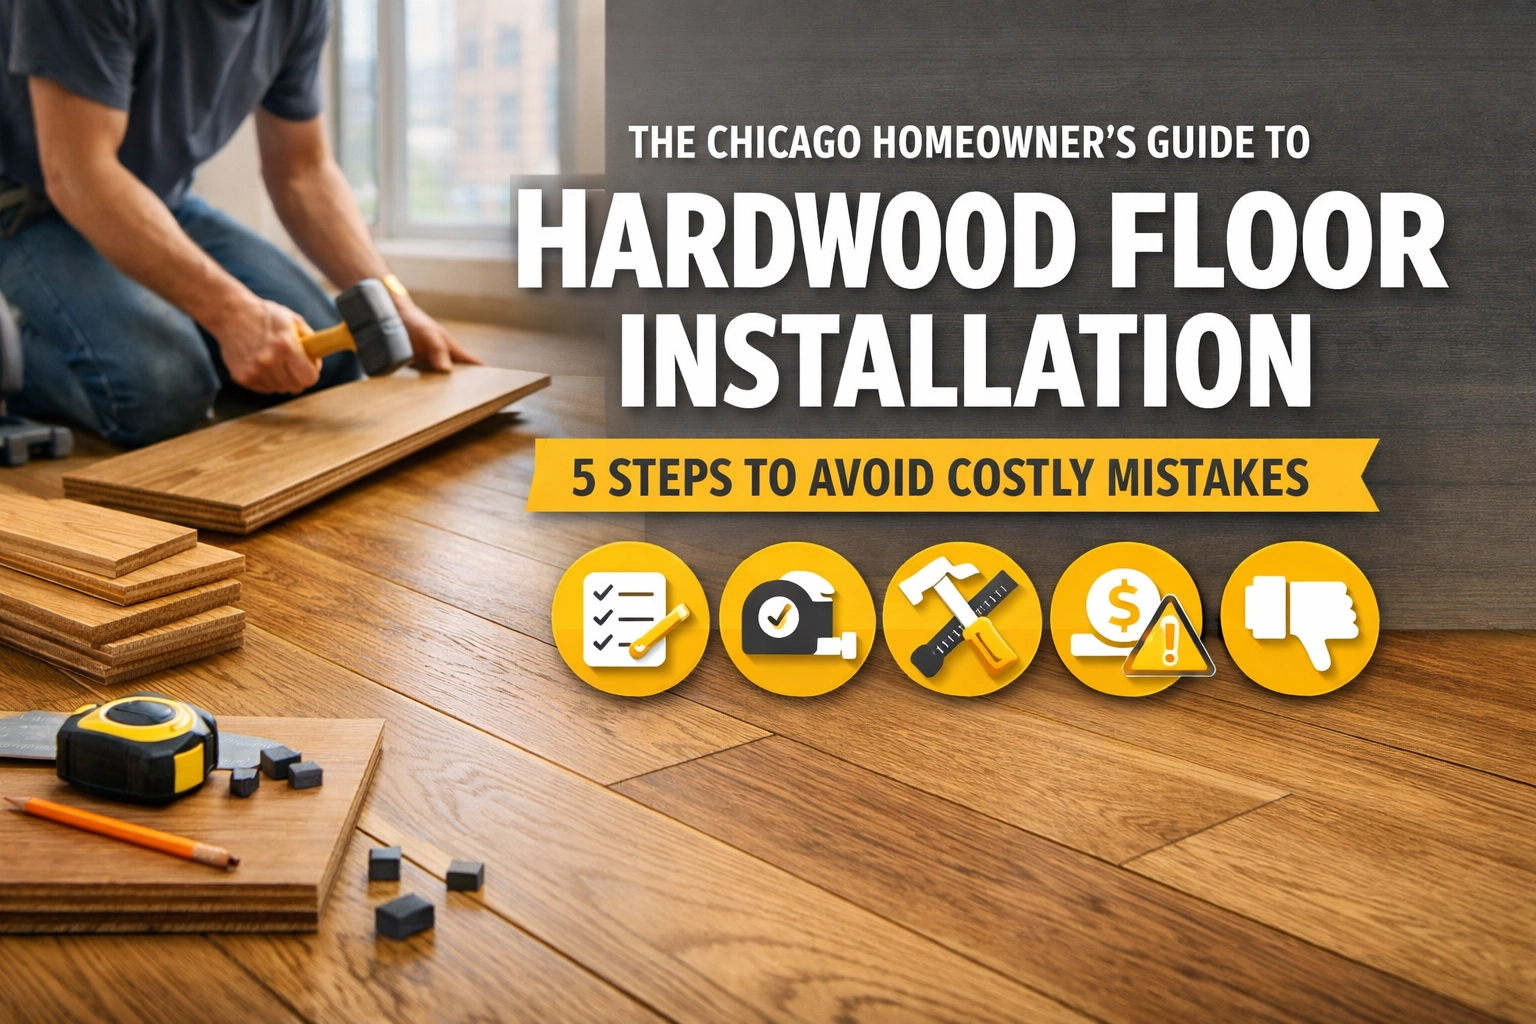
Installing hardwood floors in your Chicago-area home is a significant investment: one that can add beauty, value, and warmth to your space for decades. But it's also an investment that can go sideways fast if you skip critical steps or rush the process.
Whether you're tackling a DIY project or working with a professional installer, understanding what actually matters during hardwood installation can save you thousands in repair costs and endless frustration down the road. Chicago's unique climate: with brutal winters, humid summers, and everything in between: makes proper installation even more critical here than in milder parts of the country.
Let's walk through the five most important steps that separate a flawless hardwood floor from one that buckles, squeaks, or gaps within the first year.
Step 1: Prepare and Level Your Subfloor Thoroughly
Here's the truth: your finished floor is only as good as what's underneath it. A subfloor that's uneven, dirty, or damaged will telegraph those problems straight through to your beautiful new hardwood: sometimes immediately, sometimes months later when it's far more expensive to fix.
Before you lay a single plank, your subfloor needs to be clean, dry, smooth, and flat. Use a level or straight edge to identify any high or low spots across the entire room. Even small variations matter. Depressions should be filled with a self-leveling compound, while high spots need to be sanded or planed down.
This step also includes removing old baseboards and adjusting door jambs to account for the added height of your new flooring. It might seem tedious, but skipping subfloor prep is one of the fastest ways to end up with squeaky, unstable floors that develop gaps and structural issues over time.
If you're in the Chicago metro area: whether that's Evanston, Oak Park, Naperville, or anywhere within our 60-mile radius extending north and west: our team sees the consequences of poor subfloor prep regularly. Don't let it happen to your home.
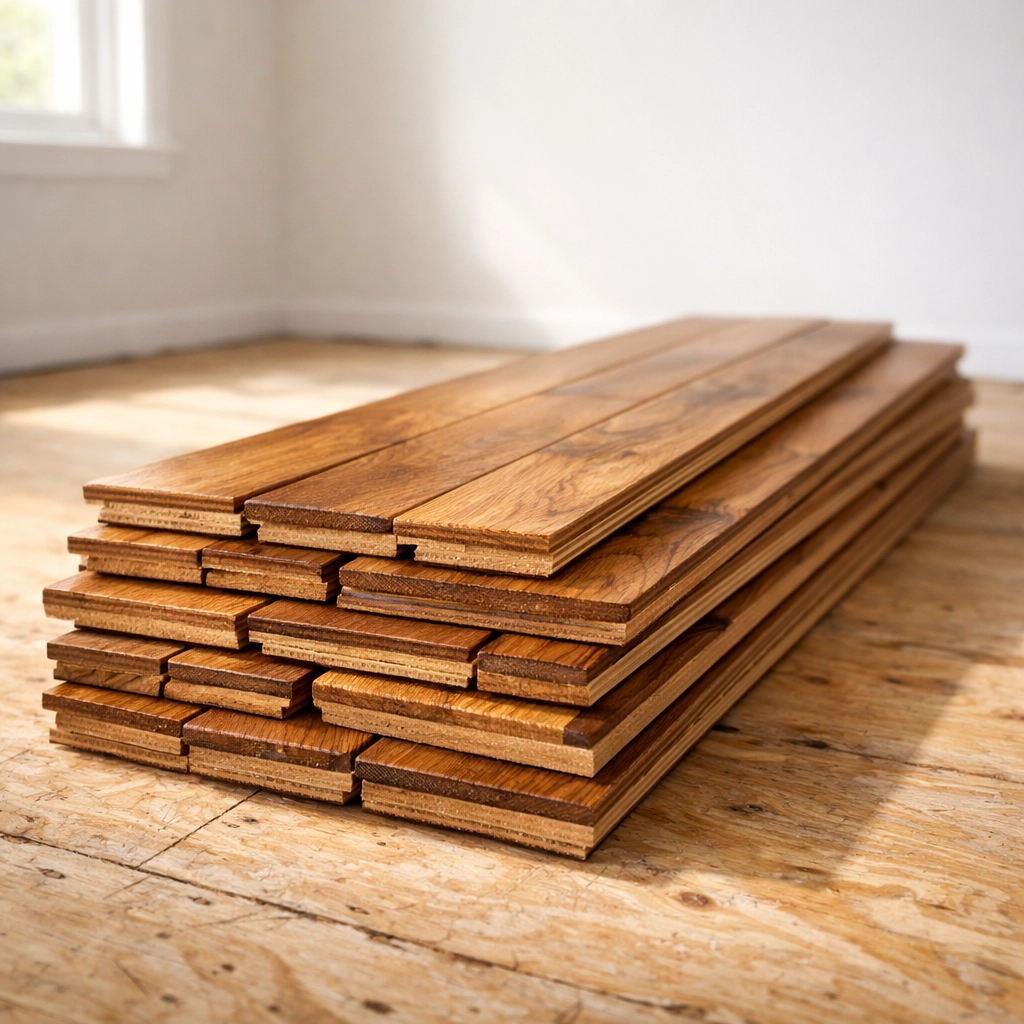
Step 2: Acclimate Your Flooring to Chicago's Climate
Chicago isn't kind to wood. We swing from single-digit winter temps with bone-dry indoor air to muggy 90-degree summer days with sky-high humidity. That's a recipe for wood movement: expansion and contraction that can wreck an improperly installed floor.
Acclimation is your insurance policy against this. When your hardwood or engineered flooring arrives, don't install it immediately. Instead, let it sit in the room where it'll be installed for at least 48 hours (longer is better, especially for solid hardwood). This allows the wood to adjust to the temperature and humidity levels of your specific home.
During this acclimation period, keep your HVAC system running at normal levels: don't turn it off or drastically change the temperature. The goal is for the wood to reach equilibrium with its permanent environment before installation.
Skipping this step is a gamble. Wood that hasn't acclimated can expand after installation, causing buckling and cupping. Or it can contract, leaving unsightly gaps between boards. In Chicago's climate, proper acclimation isn't optional: it's essential.
For more guidance on how Chicago's seasonal changes affect your floors after installation, check out our winter survival guide.
Step 3: Maintain Proper Expansion Gaps
Wood is a living material. Even after it's cut, milled, and finished, it continues to respond to changes in temperature and humidity by expanding and contracting. If you install hardwood tight against the walls with no room to breathe, you're asking for trouble.
Expansion gaps are the solution. These are small spaces left around the perimeter of the room and around any vertical obstructions (like columns or pipes) that allow the wood to move naturally without buckling or warping.
The size of your expansion gap depends on the size of your room:
- Up to 25 feet: 1/2 inch gap
- 25-40 feet: 3/4 inch gap
- Over 40 feet: 1 inch gap
During installation, use spacers consistently along all walls to maintain these gaps. Your baseboards and quarter-round molding will cover them later, creating a clean finished look while preserving the critical breathing room your floor needs.
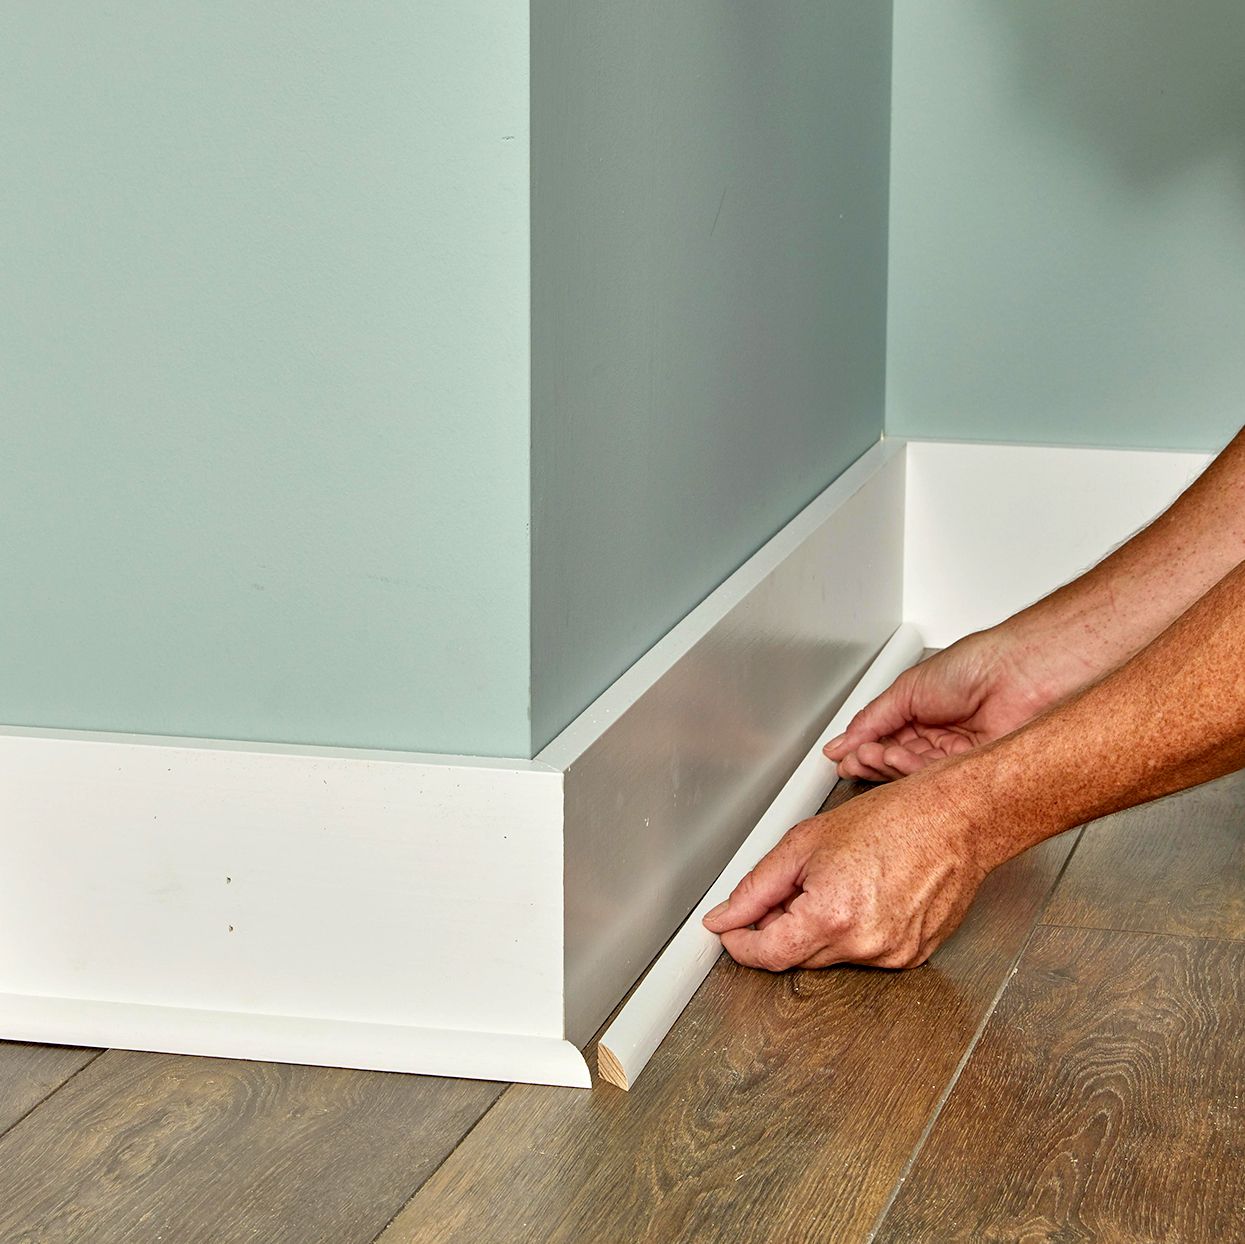
Don't let an installer talk you out of proper expansion gaps or convince you they're unnecessary. In Chicago, where we experience dramatic seasonal humidity swings, these gaps are non-negotiable. They're the difference between a floor that lasts 50 years and one that warps after two winters.
Step 4: Choose the Right Installation Method for Your Subfloor
Not all hardwood installation methods are created equal, and the type of subfloor you have will determine which method works best. Using the wrong technique can lead to premature failure, voided warranties, and expensive do-overs.
Nail-Down Installation
This is the traditional method for solid hardwood over wooden subfloors. It involves using a pneumatic flooring nailer to drive fasteners through the tongue of each board at a 45-degree angle, securing it to the subfloor. The first few rows and the last row are typically hand-nailed or face-nailed, then covered by baseboards.
Nail-down installation is extremely durable and has stood the test of time. It's ideal for solid hardwood in most Chicago homes with standard wood subfloors.
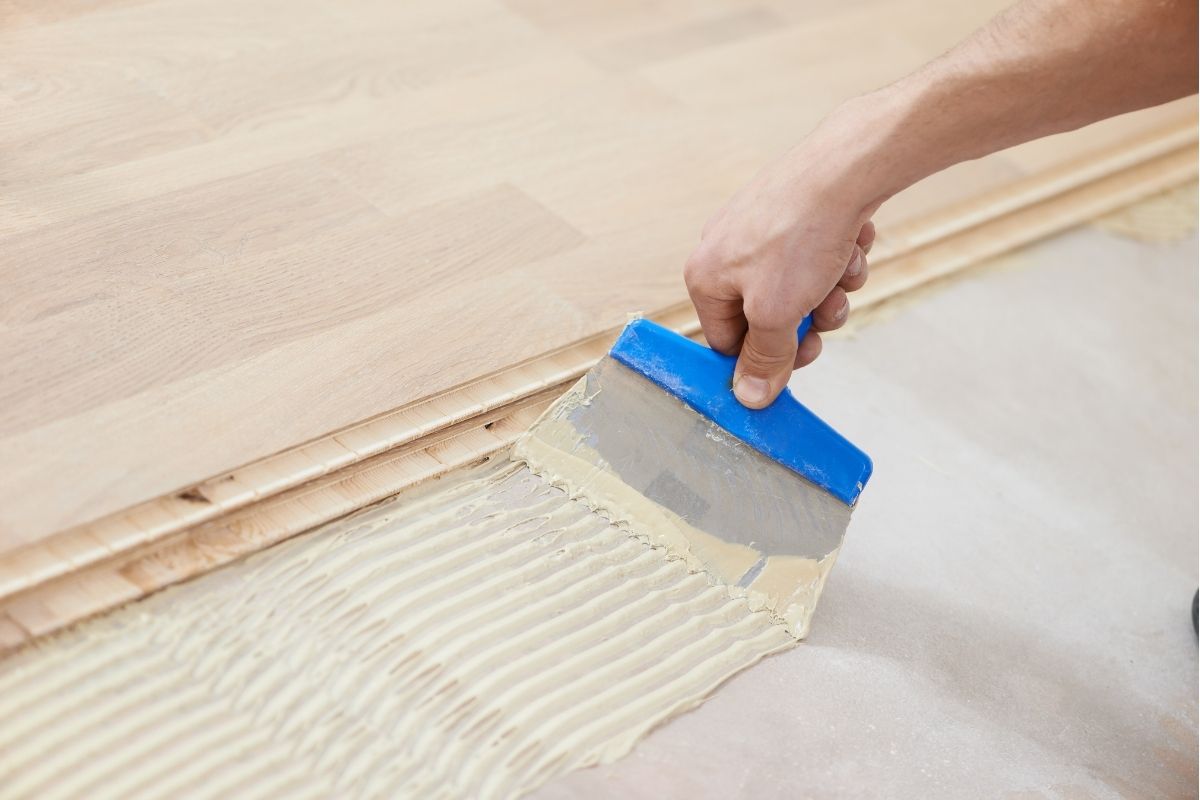
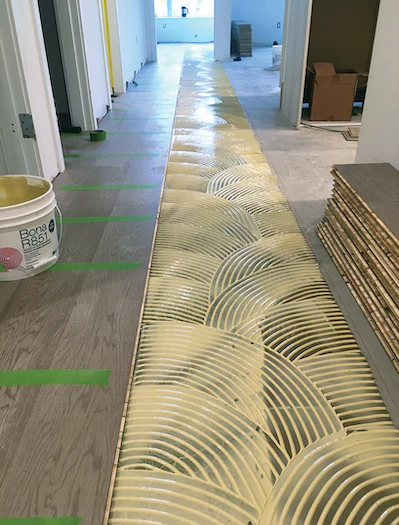
Glue-Down Installation
For engineered hardwood or installations over concrete subfloors, glue-down is often the preferred method. The installer spreads adhesive on small sections at a time using a notched trowel, then carefully places and taps each board into position. A floor roller helps ensure proper adhesive contact.
Glue-down requires precision and patience: you need to work in manageable sections and allow 24 hours for the adhesive to fully set before walking on the floor or continuing to adjacent areas.
Floating Installation
Floating floors don't attach directly to the subfloor at all. Instead, the planks lock together using tongue-and-groove connections, creating a "floating" floor that sits on top of an underlayment. This method is faster and can be more forgiving over slightly imperfect subfloors, but it's typically used for engineered products rather than solid hardwood.
Each method has cost and durability implications. A professional installer can evaluate your specific situation and recommend the best approach for your Chicago-area home.
Step 5: Stagger Seams and Use Proper Fastening Technique
The final step is all about execution. Even with perfect prep and the right materials, poor installation technique will undermine everything else.
Staggering the Seams
Never line up the end joints of your boards in adjacent rows. Instead, stagger them by at least 6 inches: ideally 8-10 inches or more. This creates a stronger, more stable floor and produces the random, natural-looking pattern that makes hardwood so attractive. It also prevents the "H-joint" pattern that screams "amateur installation."
Proper Fastening
For nail-down or staple installations, fasten each board by driving fasteners through the tongue at a 45-degree angle. Space fasteners 6 to 8 inches apart along the length of each board, and make sure you have fasteners within 1-2 inches of each board end.
Between each row, use a rubber mallet and tapping block to drive boards tightly together, eliminating gaps without damaging the tongue or groove edges. Take your time with this: rushing leads to visible gaps that only get worse over time.
For the final row along the wall, measure carefully to maintain your expansion gap, then use a pull bar to fit the boards tightly without damaging the wall. This last row often requires ripping boards lengthwise to fit, so precision measuring is critical.
Why Professional Installation Matters in Chicago
While DIY hardwood installation is possible for experienced homeowners with the right tools, there's a reason professional installation is almost always recommended. Proper execution requires specialized equipment: floor nailers, compressors, miter saws, table saws, moisture meters, and more: plus the experience to know how Chicago's climate affects wood behavior throughout the year.
At Rovin's Flooring Inc, we've been installing hardwood floors in Chicago and throughout the surrounding area: north and west up to 60 miles: for years. We understand how our local climate impacts wood flooring, and we've seen every mistake homeowners and inexperienced installers make. More importantly, we know how to avoid them.
If you're considering hardwood installation for your home, whether you're choosing between water-based vs. oil-based finishes or deciding if it's time to repair, refinish, or replace your existing floors, we're here to help.
The Bottom Line
Beautiful, long-lasting hardwood floors start with proper installation. By focusing on these five critical steps: thorough subfloor prep, climate acclimation, correct expansion gaps, the right installation method, and careful execution: you'll avoid the costly mistakes that plague poorly installed floors.
Chicago's tough climate makes quality installation even more important here than in other parts of the country. Don't cut corners, don't rush the process, and don't hesitate to call in professionals who understand both hardwood flooring and the unique challenges of our local environment.
Your floors are an investment that should last generations. Make sure they're installed right the first time.